Hey there, fellow Swiftie! 🎶 Are you ready to bake a cake that not only satisfies your sweet tooth but also pays homage to the Queen of Pop herself, Taylor Swift? If you’re like me, you know that nothing says “I love you, Taylor” quite like a beautifully crafted Taylor Swift cake. So grab your mixing bowls and let’s whip up something magical!
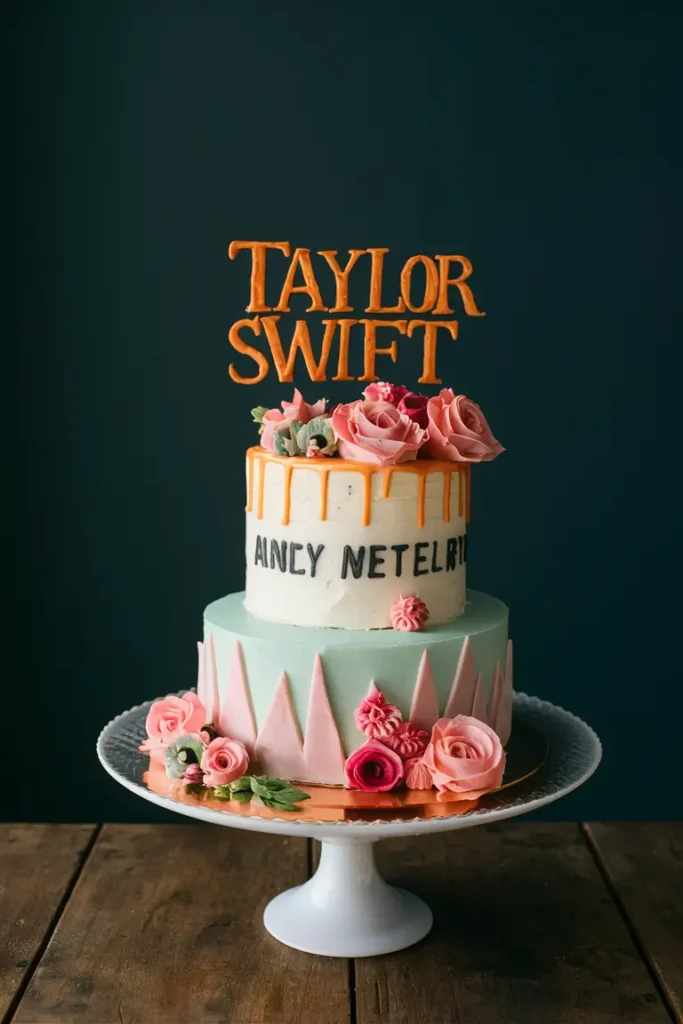
The Inspiration Behind the Taylor Swift Cake
Why Taylor Swift? Well, Taylor isn’t just a music sensation; she’s a cultural icon! She’s inspired countless fans to express their love through art, fashion, and yes, even desserts. A Taylor Swift cake is more than just a cake; it’s a celebration of everything she stands for—creativity, passion, and a dash of whimsy.
Ingredients: What You’ll Need
Now, before we dive into the baking process, let’s gather our ingredients. Here’s what you’ll need to create your very own Taylor Swift cake:
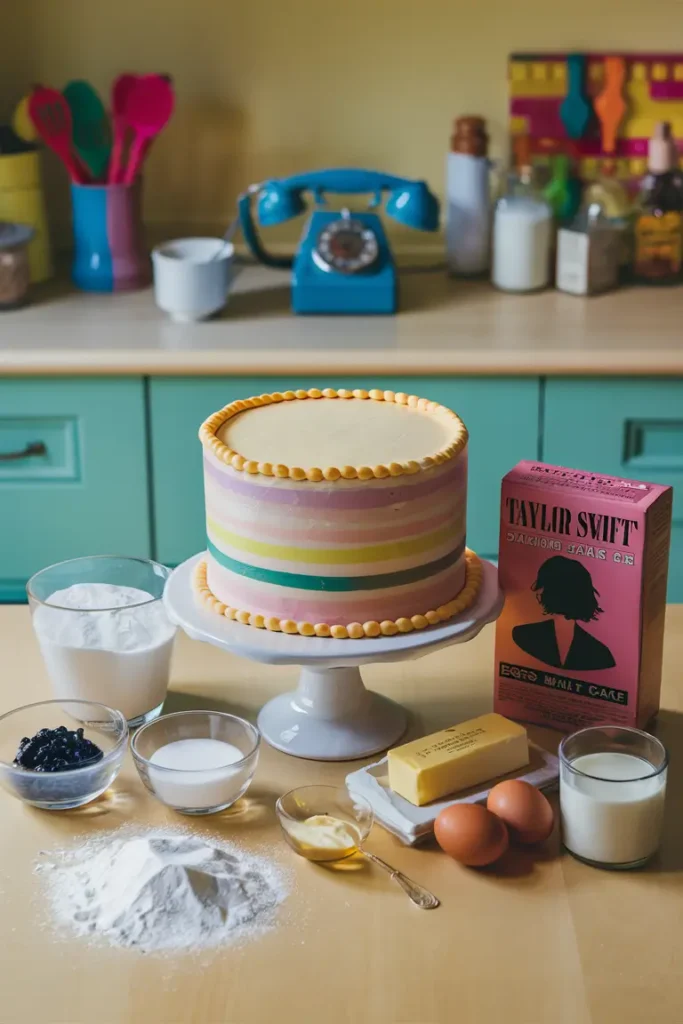
- For the Cake:
- 2 cups all-purpose flour
- 1 ½ cups sugar
- 1 cup unsalted butter (softened)
- 4 large eggs
- 1 cup milk
- 2 ½ teaspoons baking powder
- 1 teaspoon vanilla extract
- For the Frosting:
- 1 cup unsalted butter (softened)
- 4 cups powdered sugar
- 2 tablespoons milk
- 1 teaspoon vanilla extract
- Food coloring (for a fun flair!)
Step-by-Step Instructions for Baking the Cake
Let’s get to the fun part—baking! Here’s how to whip up your Taylor Swift cake in a few simple steps:
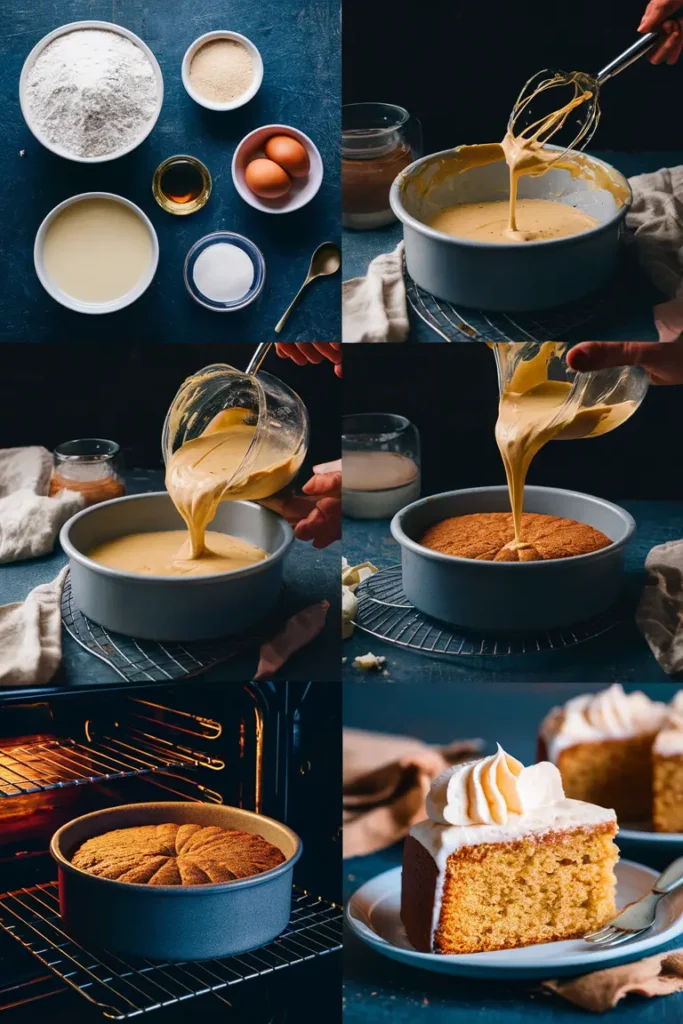
- Prepare Your Batter:
- Preheat your oven to 350°F (175°C). Don’t skip this; a well-preheated oven is key!
- In a large bowl, cream together the softened butter and sugar until it’s light and fluffy—think Taylor’s bright, bubbly personality!
- Add eggs one at a time, mixing well after each addition. Then, mix in the milk and vanilla extract.
- Mix the Dry Ingredients:
- In another bowl, whisk together the flour and baking powder. Gradually add this to the wet mixture, blending until it’s smooth.
- Bake the Cake:
- Pour the batter into two greased 9-inch round cake pans. Bake for about 30-35 minutes, or until a toothpick inserted into the center comes out clean.
- Let the cakes cool in the pans for about 10 minutes, then transfer them to wire racks to cool completely.
Frosting and Decorating Your Cake
Now that your cake is baked and cooled, it’s time to give it some personality—just like Taylor! Here’s how to frost and decorate:
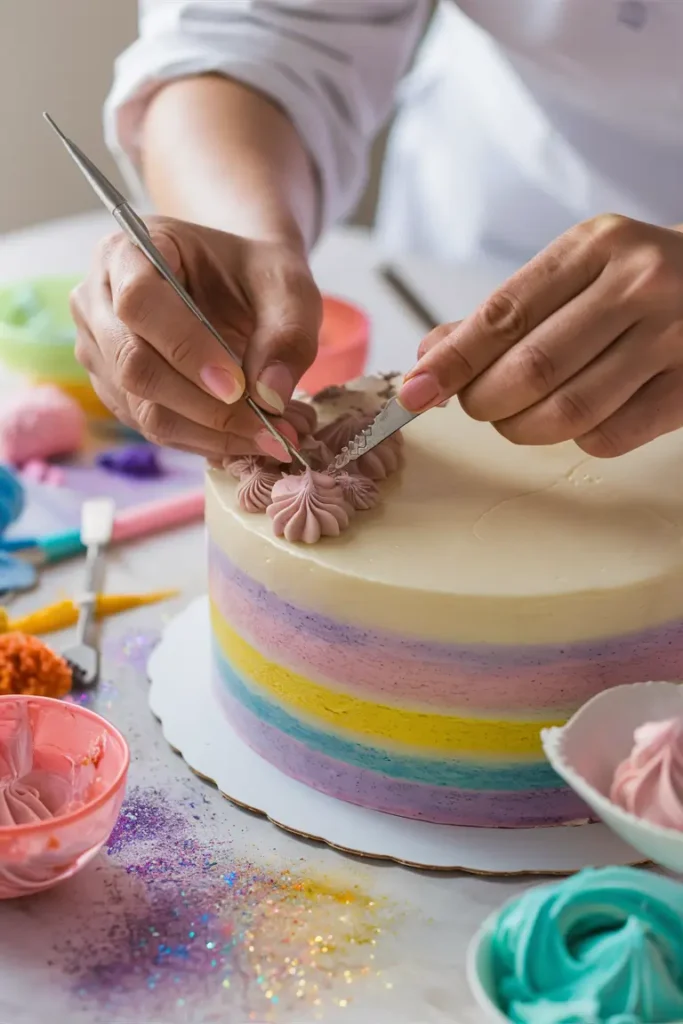
- Make the Frosting:
- In a bowl, beat the softened butter until creamy. Gradually add powdered sugar, milk, and vanilla extract. Mix until fluffy and smooth—like a Taylor Swift ballad!
- If you want to add some color, divide the frosting into bowls and mix in your food coloring to create the hues that represent your favorite Taylor album.
- Layer and Frost:
- Place one cake layer on a serving plate. Spread a generous amount of frosting on top, then place the second layer on top.
- Use the remaining frosting to cover the top and sides of the cake. Don’t worry about perfection; a little messiness adds charm!
- Final Touches:
- Get creative! Use edible glitter, sprinkles, or even cake toppers that showcase Taylor’s lyrics or album covers. Let your inner Swiftie shine!
Serving Your Taylor Swift Cake
Once your Taylor Swift cake is decorated, it’s time to serve! Here are some ideas for making the most out of your cake:
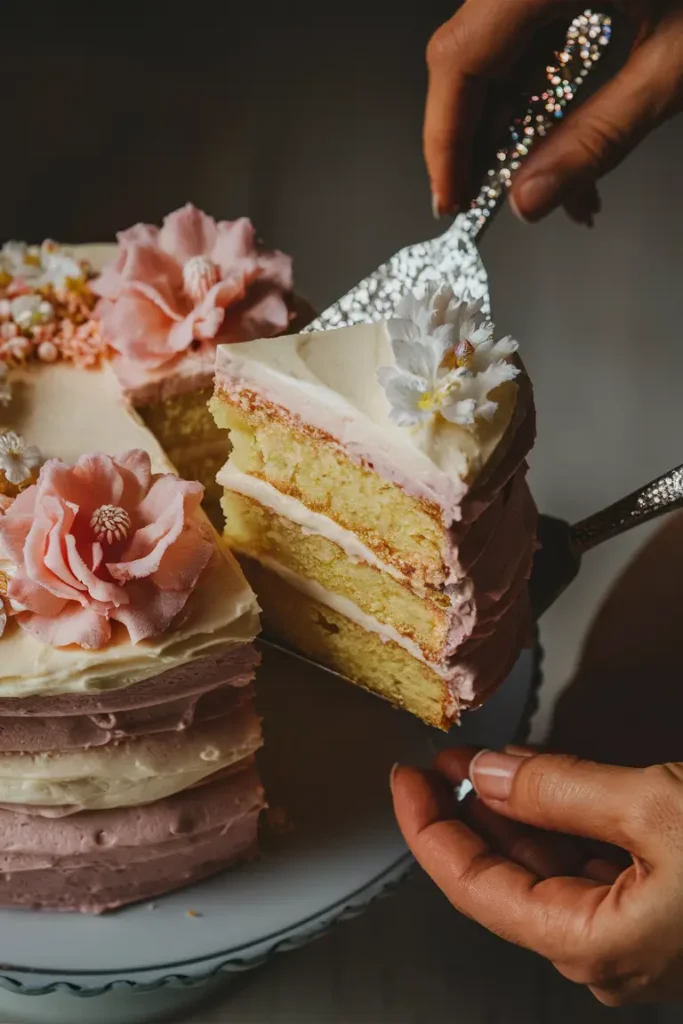
- Host a Swiftie Gathering: Invite friends over for a Taylor-themed party. Play her greatest hits in the background while you indulge in sweet treats.
- Social Media Moment: Snap some pics of your cake and share them using hashtags like #TaylorSwiftCake and #SwiftieBaking. Trust me, your followers will love it!
Wrapping It Up
So there you have it—your very own Taylor Swift cake! Not only will it taste delicious, but it’ll also give you a reason to celebrate life and the music we love. Baking isn’t just about food; it’s about creating memories and sharing moments with friends and family.
Essential Ingredients for Your Taylor Swift Cake
Alright, let’s talk about the fun part: the ingredients you’ll need to create your very own Taylor Swift cake. Baking is all about mixing the right flavors, and trust me, you want every bite to feel like it’s straight out of a Taylor Swift song—sweet, memorable, and just a little bit magical.
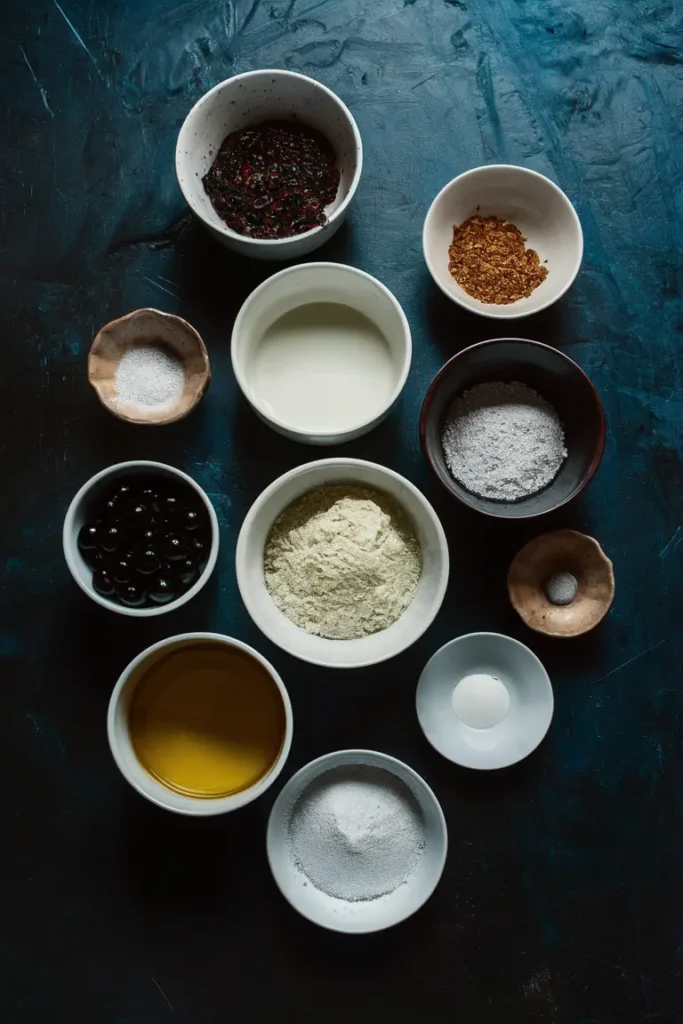
1. Gather Your Basic Cake Ingredients
First things first! Here’s what you need for the cake itself:
- 2 cups all-purpose flour: This is the base of your cake. Just like Taylor’s music, it all starts here.
- 1 ½ cups sugar: Because what’s the point of a cake if it’s not sweet, right?
- 1 cup unsalted butter, softened: This is where the richness comes in. Think of it as the “All Too Well” of your ingredients—essential and unforgettable.
- 4 large eggs: Eggs give your cake structure. Without them, it’s like a Taylor Swift album without any heart.
- 1 cup milk: Adds moisture. No one likes a dry cake—just like no one likes a lackluster concert.
- 2 ½ teaspoons baking powder: This is your secret weapon for a fluffy texture.
- 1 teaspoon vanilla extract: The flavor that ties everything together—like all of Taylor’s catchy hooks.
2. Flavor Variations to Spice Up Your Cake
Now, while the basic ingredients are fantastic, you can always jazz things up! Here are some fun flavor variations to consider for your Taylor Swift cake:
- Chocolate: If you want to take a page from the “Reputation” era, add cocoa powder for a rich, dark flavor.
- Red Velvet: Channel your inner “Lover” with a gorgeous red velvet cake. It’s sure to impress!
- Lemon: For a zesty twist that’s refreshing, add some lemon zest for a bright taste, perfect for summer gatherings.
3. Frosting and Decorations
Now that we’ve got the cake covered, let’s talk frosting! Because what’s a Taylor Swift cake without a good frosting? Here’s what you’ll need:
- 1 cup unsalted butter (softened): Yes, we’re using butter again! It makes your frosting creamy and delightful.
- 4 cups powdered sugar: This sweet addition makes your frosting perfectly sweet—just like “22.”
- 2 tablespoons milk: To get the right consistency for spreading.
- 1 teaspoon vanilla extract: Adding just a touch more flavor because why not?
- Food coloring: For those who want to get artistic! Choose colors that resonate with your favorite Taylor album or song.
4. Special Add-ins for Extra Fun
Let’s get creative! Here are some cool add-ins you can mix into your batter or use for decoration:
- Chocolate chips: Because who doesn’t love a surprise in every bite?
- Sprinkles: Perfect for a party vibe. Go wild with colors that match your cake’s theme.
- Fruit: Fresh strawberries or raspberries can add a refreshing taste and a pop of color.
5. Tools and Equipment Needed
Before you start baking, make sure you have all the right tools handy. Here’s a quick list:
- Mixing bowls: You’ll need a few for all that mixing action.
- Measuring cups and spoons: Precision is key—no one wants a “Shake It Off” kind of cake.
- Cake pans: Two 9-inch round pans are ideal for a layered look.
- Mixer: A hand mixer or a stand mixer will make your life easier. Let’s be honest, we love convenience.
Putting It All Together
Now that you know all the ingredients and tools you’ll need, you’re well on your way to baking your very own Taylor Swift cake. Imagine the excitement as you mix, bake, and create something delicious while listening to your favorite Taylor tracks!
Step-by-Step Instructions for Baking the Cake
Now that you’ve gathered all your ingredients, it’s time to dive into the baking process! Baking a Taylor Swift cake is like crafting a love song—it requires the right mix of elements, a bit of patience, and a whole lot of heart. Let’s get started!
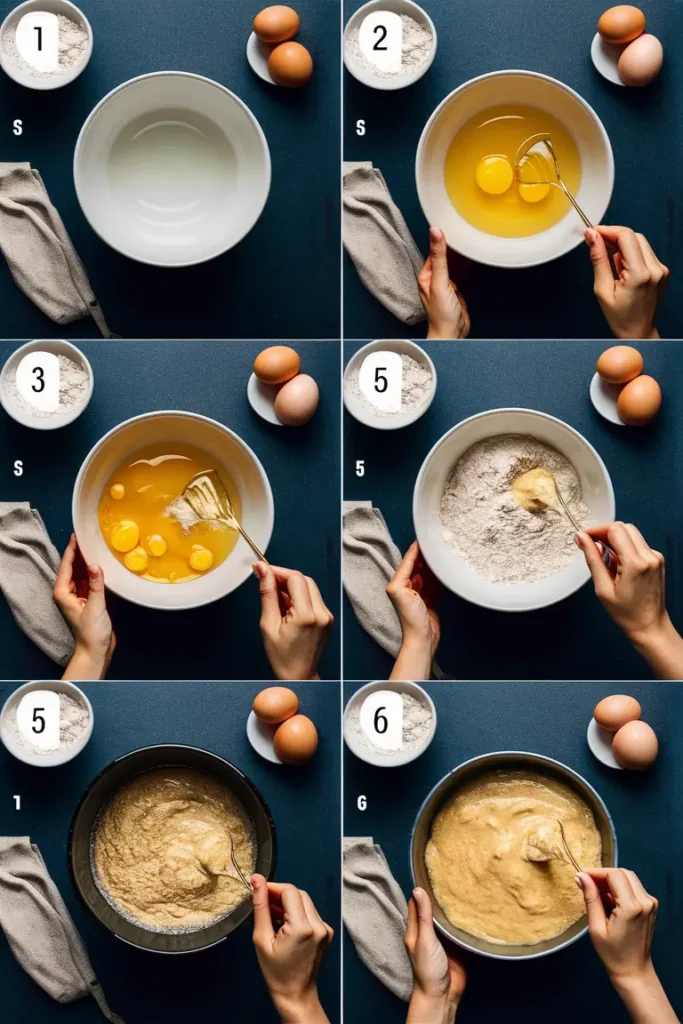
1. Prepare Your Batter
First things first, let’s get that batter ready!
- Preheat Your Oven: Program your oven to 350°F (175°C). Preheating is crucial because you want your cake to bake evenly. Think of it as warming up before a big performance – it makes all the difference!
- Cream the Butter and Sugar: In a large mixing bowl, combine the softened butter and sugar. Use a hand mixer or a stand mixer and beat until it’s light and fluffy. You want it to look like clouds—a sweet, sugary cloud!Pro Tip: If you’ve got some Taylor tunes playing in the background, don’t be surprised if you start dancing a little while mixing. It’s part of the fun!
- Add the Eggs and Milk: Crack in the eggs, one at a time, mixing well after each addition. Then pour in the milk and vanilla extract. Blend until everything is combined and smooth. This is where the magic starts to happen!
2. Mix the Dry Ingredients
Now it’s time to combine the dry ingredients. Grab another bowl for this step:
- Combine Flour and Baking Powder: In a separate bowl, whisk together 2 cups of all-purpose flour and 2 ½ teaspoons of baking powder. This ensures an even mix that will help your cake rise beautifully.
- Add to Wet Mixture: Gradually add the flour mixture to your wet ingredients. Mix until just combined. Don’t overdo it! A lumpy batter is perfectly fine; we want a light and fluffy Taylor Swift cake, not a dense one.
3. Bake the Cake
Alright, let’s get this cake in the oven!
- Pour the Batter into the Pans: Divide your batter evenly between the prepared 9-inch round cake pans. For a uniform baking, smooth the tops with a spatula.
- Baking Time: Place the pans in the preheated oven and bake for 30-35 minutes. Keep an eye on them—every oven is different! When the edges turn golden and a toothpick inserted in the center comes out clean, you’re golden.Tip: While your cake bakes, why not take a moment to listen to “You Belong With Me”? It’ll make the wait feel like a celebration!
4. Cooling the Cake
This part is just as important as baking!
- Let It Cool: Once the cakes are done, remove them from the oven and let them cool in the pans for about 10 minutes. Then, carefully transfer them to wire racks to cool completely. This will prevent sogginess and keep your Taylor Swift cake from falling apart when you frost it.
5. Making the Frosting
While you wait for your cake to cool, let’s whip up that delicious frosting!
- Beat the Butter: In a mixing bowl, beat 1 cup of softened butter until creamy, just like before.
- Add Powdered Sugar: Gradually add in 4 cups of powdered sugar, mixing until it’s fully incorporated. This might get a little messy—sugar everywhere—but we’re in this together!
- Incorporate Milk and Vanilla: Add 2 tablespoons of milk and 1 teaspoon of vanilla extract to the mix. Beat until smooth and fluffy. If you want it a little sweeter, feel free to adjust the sugar amounts. It’s your cake, after all!
6. Layering the Cake
The final step before decorating!
- Trim the Cakes: If your cakes have domed tops, level them out with a serrated knife. This makes it easier to stack and gives your Taylor Swift cake that professional look.
- Layer It Up: Place one cake layer on your serving platter. Spread a generous amount of frosting on top, then gently place the second layer on top. Use more frosting to cover the top and sides of the entire cake.
Wrapping It Up
And there you have it—your very own Taylor Swift cake is baked and ready to be adorned with sweet toppings! It’s time to let your creativity shine. Decorate it with colors that reflect your favorite phase of Taylor’s career or just go wild with sprinkles.
Decorating Your Taylor Swift Cake
Congratulations! 🎉 You’ve baked your Taylor Swift cake, and now it’s time to give it some flair. Decorating is where you can really let your creativity shine! It’s like putting the finishing touches on a music video—this is your moment to express your love for Taylor in delicious, artistic ways.
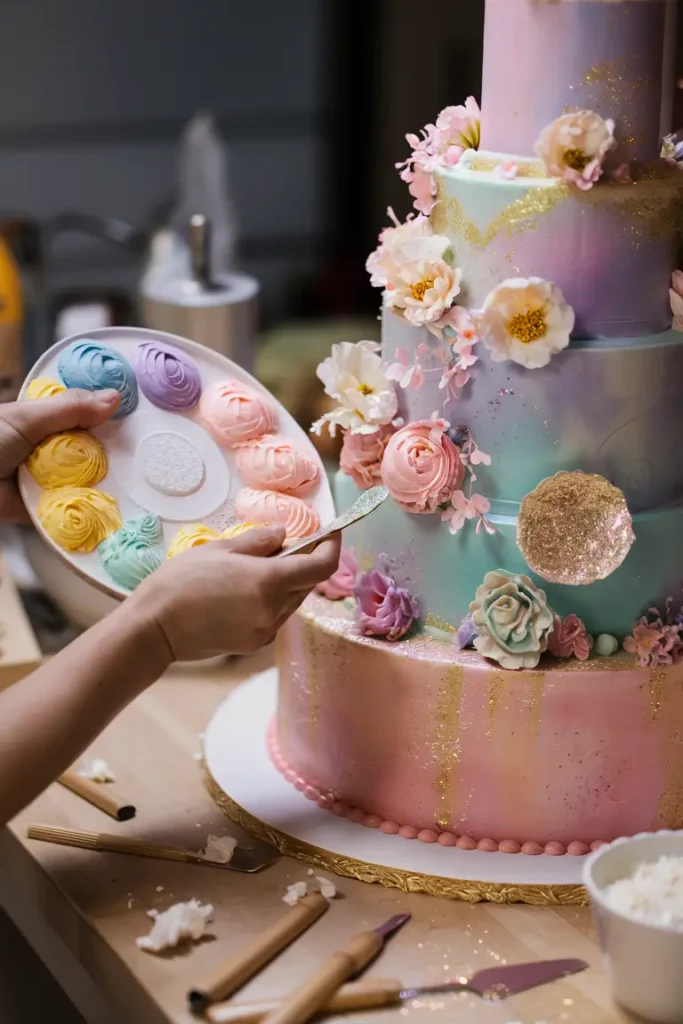
1. Choosing Your Frosting Style
Before we dive into the fun decorations, let’s talk about frosting styles. Here are a few popular methods you can use for your Taylor Swift cake:
- Classic Buttercream Frosting: This is what most people think of when they picture cake frosting. It’s smooth, sweet, and perfect for spreading. Just remember, the thicker the layer, the sweeter the cake!
- Textured Frosting: If you’re feeling adventurous, try using a spatula or a fork to create swirls and patterns. This gives your Taylor Swift cake an artsy, whimsical look—much like her album covers!
- Naked Cake: For a more contemporary vibe, go for a naked cake style. This means leaving some of the cake exposed, creating an elegant, rustic appearance. Just think about how stunning that would look with fresh fruit or flowers!
2. Using Edible Decorations
Now that you have your frosting style down, it’s time to add some pizzazz with edible decorations. Here are some fun ideas:
- Sprinkles: These little gems can transform any cake into a party! Use rainbow or themed sprinkles that match your favorite Taylor album colors.
- Edible Glitter: If your cake needs a touch of sparkle, edible glitter is your best friend. It’s like the confetti of the baking world!
- Fruits and Berries: Fresh strawberries, raspberries, or even lemon slices can give your Taylor Swift cake a refreshing twist. Plus, they look gorgeous on top!
3. Themed Accessories and Toppers
Let’s up the ante with some themed cake toppers that scream Taylor Swift!
- Custom Cake Toppers: Websites like Etsy offer personalized cake toppers with lyrics from her songs or her iconic quotes. Imagine a cake topped with “I don’t know why I dance with you in a storm in my best dress!” It’d be adorable!
- Lyric Quotes: Write out your favorite lyrics on decorative paper and place them on picks. Stick them into the cake for a stunning visual and a heartfelt touch.
- Album-inspired Decorations: If you’re a fan of a specific album, incorporate elements from that era. For “Lover,” think pastel colors and hearts; for “Reputation,” go bold with black and gold.
4. Incorporating Personal Touches
Now, let’s make it personal! Here’s where your story can come into play:
- Favorite Song Theme: If one of Taylor’s songs holds a special place in your heart, let it inspire your design. A “Shake It Off” themed cake could have light, airy frosting with playful decorations that reflect the song’s mood.
- Personalized Touches: Maybe you want the cake to represent a special memory with friends around Taylor’s music—like a road trip or a concert. Add little mementos around the cake, like small flags with dates or tickets.
5. Finalizing Your Design
Take a step back and look at your Taylor Swift cake. Does it look fabulous? If you feel like it’s missing something, don’t hesitate to add more sprinkles or frosting!
- Smooth Edges: Use a bench scraper or a spatula to smooth out any rough edges for a polished look.
- Chill Before Serving: Once you finish decorating, pop the cake in the fridge for about 30 minutes. This helps set the frosting, so when you slice into it, the layers stay intact and look stunning!
Wrapping It Up
And there you have it—the decorating phase of your Taylor Swift cake is complete! The best part? There are no rules here—just let your imagination run wild, just like Taylor does with her music.
Serving and Enjoying Your Taylor Swift Cake
You’ve put in the effort, you’ve decorated your Taylor Swift cake, and now it’s time for the best part: eating it! 🎂 But before you dig in, let’s talk about how to make the most out of this delicious creation. After all, a cake inspired by your favorite artist deserves a great celebration.
1. Creating the Perfect Setting
When it’s time to serve your Taylor Swift cake, think about the vibe you want to create. Here are some ideas to set the stage:
- Swiftie Party: Gather your fellow fans for a themed get-together. Play her greatest hits, decorate the space with album covers, and maybe even have a dance party.
- Cozy Family Gathering: If it’s just you and your loved ones, set the table with pretty plates and napkins. A simple yet stylish setting can make your cake feel like a star.
Personal Touch: I once hosted a small gathering where we set up a mini photo booth with Taylor-themed props. It was a hit! Everyone loved taking pictures with their slices of cake. Trust me, it makes for great memories.
2. Slice It Up Right
Now, let’s get practical. When it comes time to cut the cake, here are a few tips:
- Use a Sharp Knife: A serrated knife works best for cutting through layers. Make sure it’s clean for each slice to keep your Taylor Swift cake looking neat and pretty.
- Warming the Knife: For a clean cut, dip the knife in hot water, wipe it dry, and then slice. This technique is a game changer! Each piece comes out beautifully, just like your cake deserves.
- Perfect Portions: Everyone loves a generous slice but make sure you’re serving portions that are easy to handle. You want your friends to savor the cake, not struggle with it!
3. Serving Suggestions
While you can definitely enjoy your Taylor Swift cake on its own, here are some fun serving suggestions to elevate the experience:
- Pair with Ice Cream: A scoop of vanilla or strawberry ice cream on the side can take your cake to the next level. This iconic team never goes out of style.
- Fresh Fruit: Serve your cake with some fresh berries or a fruit salad. They’re not just pretty—they add a refreshing touch that complements the sweetness of the cake.
- Themed Drinks: Make the party even more fun with Taylor-inspired beverages. A sparkling lemonade or a fun mocktail can bring a delightful twist to your celebration.
4. Social Media Moments
We all love sharing our baking adventures, right? Don’t forget to capture the moment!
- Snap Some Pics: Take photos of your Taylor Swift cake before it gets sliced. A beautiful cake deserves a spotlight on Instagram! Use natural light to make those colors pop.
- Share Your Creation: Post your masterpiece on social media with hashtags like #TaylorSwiftCake and #SwiftieBaking. You might inspire others to get baking too!
5. Storing Leftovers
If there are any leftovers (but can there really be leftovers?), here’s how to keep your cake fresh:
- Cover and Refrigerate: Use a cake keeper or wrap it in plastic wrap to keep it from drying out. You can refrigerate it for about 3-4 days.
- Freezing: If you want to save some for later, you can freeze your Taylor Swift cake. Just make sure it’s well-wrapped to prevent freezer burn. It should stay good for up to three months!
Wrapping It Up
So there you have it—ways to serve, enjoy, and celebrate your Taylor Swift cake! Whether you’re gathering friends for a big party or enjoying a slice solo while listening to Taylor’s latest album, the experience should be as delightful as the cake itself.
Conclusion
And there you have it—the ultimate guide to creating your very own Taylor Swift cake! From mixing the batter to decorating with flair, you’ve learned how to whip up a dessert that not only tastes amazing but also celebrates the spirit of Taylor Swift.
FAQ
1. What flavors work best for a Taylor Swift cake?
You can choose any flavor you like! Popular options include vanilla, chocolate, and red velvet. Just think about Taylor’s vibe and pick something that resonates with you.
2. Can I decorate the cake in a specific Taylor Swift theme?
Absolutely! You can use colors and symbols from her albums, add themed toppers, or even inscribe lyrics on the cake. Let your imagination run wild!
3. How do I store leftovers?
If you have any leftovers (which is rare with such a tasty cake!), cover it and store it in the fridge for up to four days or freeze it for three months. Just make sure it’s well-wrapped to maintain freshness.
4. Can I make this cake gluten-free?
Yes! You can substitute regular flour with a gluten-free flour blend. Just ensure that all other ingredients are gluten-free as well.
5. Is it okay to use store-bought frosting?
Sure! If you’re short on time or just want to keep it simple, store-bought frosting works perfectly.
