Release your inner artist and create a magnificent masterwork out of a basic birthday cake. Learning to draw birthday cakes is enjoyable and fulfilling whether your goal is to enhance your abilities or for a unique celebration. This lesson will walk you three simple steps to create a birthday cake drawing that will wow everyone.
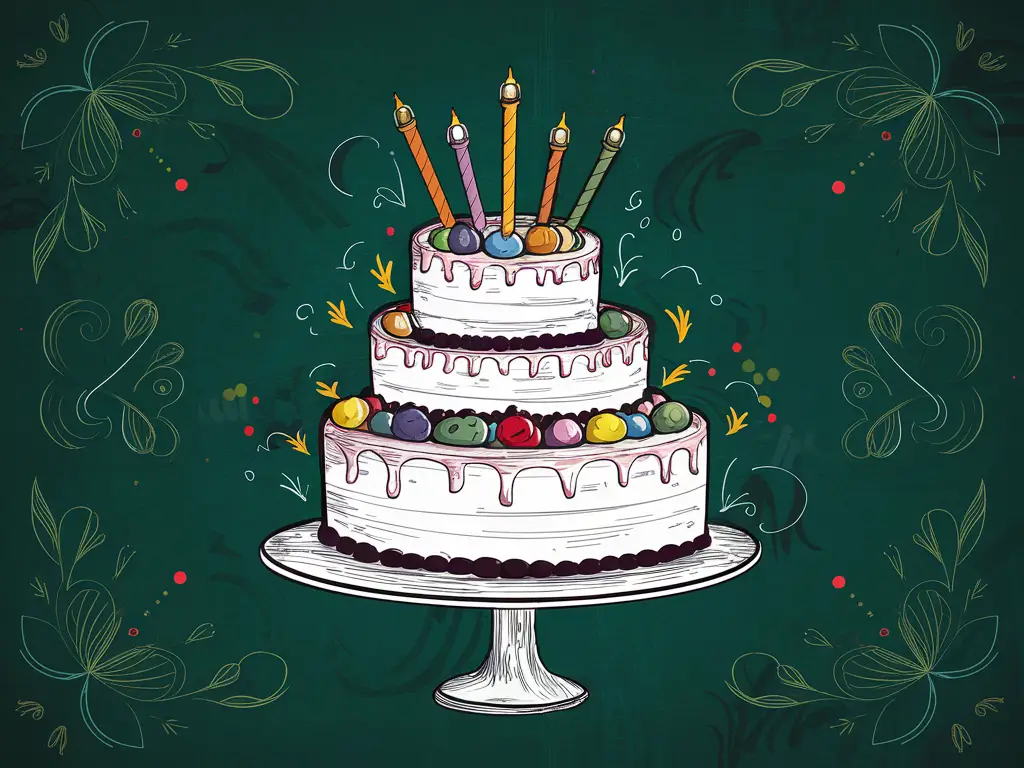
Table of Contents
Essential Art Supplies for Your Birthday Cake Drawing
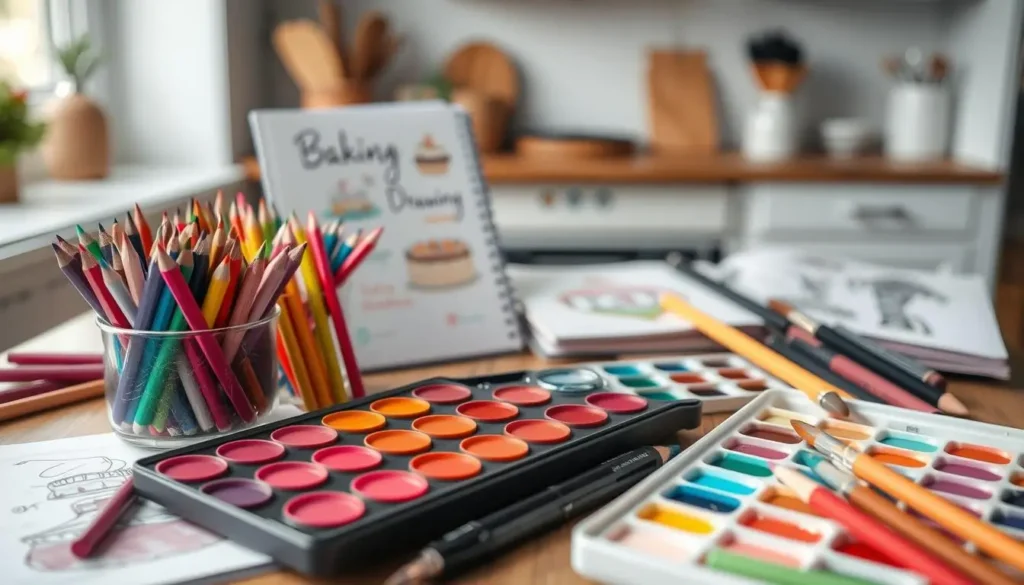
Starting your journey in baking drawing and pastry doodles needs the right tools. Whether you’re new or experienced, having the right supplies is key. It helps you create amazing sweet treat artwork. Let’s look at the main materials you’ll need to make your birthday cake drawings pop.
Selecting the Right Paper and Pencils
First, pick a top-notch sketchbook or drawing paper. It should handle different media well. Choose a smooth, heavy paper for layering colors and textures. For pencils, get a set of graphite pencils in different hardness levels (2H to 6B). This will help you create various line weights and shading.
Color Materials and Tools
Make your birthday cake drawings colorful with the right tools. Get a set of high-quality colored pencils or markers with lots of colors. Watercolor paints are also great for a unique look in your pastry doodles. Remember to have blending stumps, erasers, and sharpeners for better baking drawing skills.
Additional Embellishment Supplies
To add a special touch to your sweet treat artwork, use glitter pens, metallic markers, and fine-tipped brushes. These can help you create beautiful details, highlights, and accents. They’ll make your birthday cake illustrations stand out.
With the right supplies, you’re ready to make amazing baking drawings. Enjoy the fun of pastry doodles and let your creativity soar!
Understanding Basic Cake Shapes and Proportions
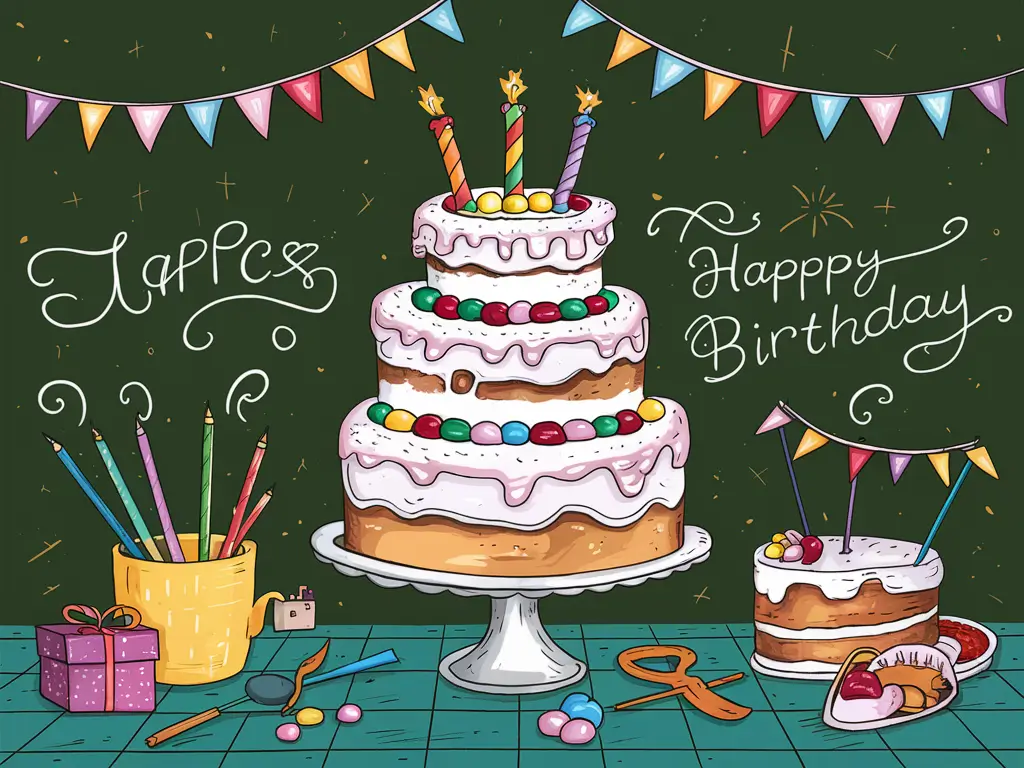
Creating a cake illustration starts with knowing the different cake shapes and their sizes. This knowledge is key to showing off various cakes, from simple round ones to fancy tiered ones.
The most common cake shapes include:
- Round cakes – These classic cakes have a circular base and straight sides. It’s important to get the height-to-width ratio right for a balanced look.
- Square cakes – Square cakes have a modern, geometric look. Make sure the sides are equal and the corners sharp for a clean look.
- Rectangular cakes – Rectangular cakes are versatile and great for birthday decorations. Getting the proportions right is essential for a nice look.
- Tiered cakes – These elaborate designs have multiple layers stacked. It’s important to show the size and perspective of each tier accurately.
Knowing the basics of cake shapes and sizes helps you create professional-looking dessert art. Mastering these basics is crucial for your birthday party decorations and stunning cake illustrations.
Getting Started: Setting Up Your Workspace
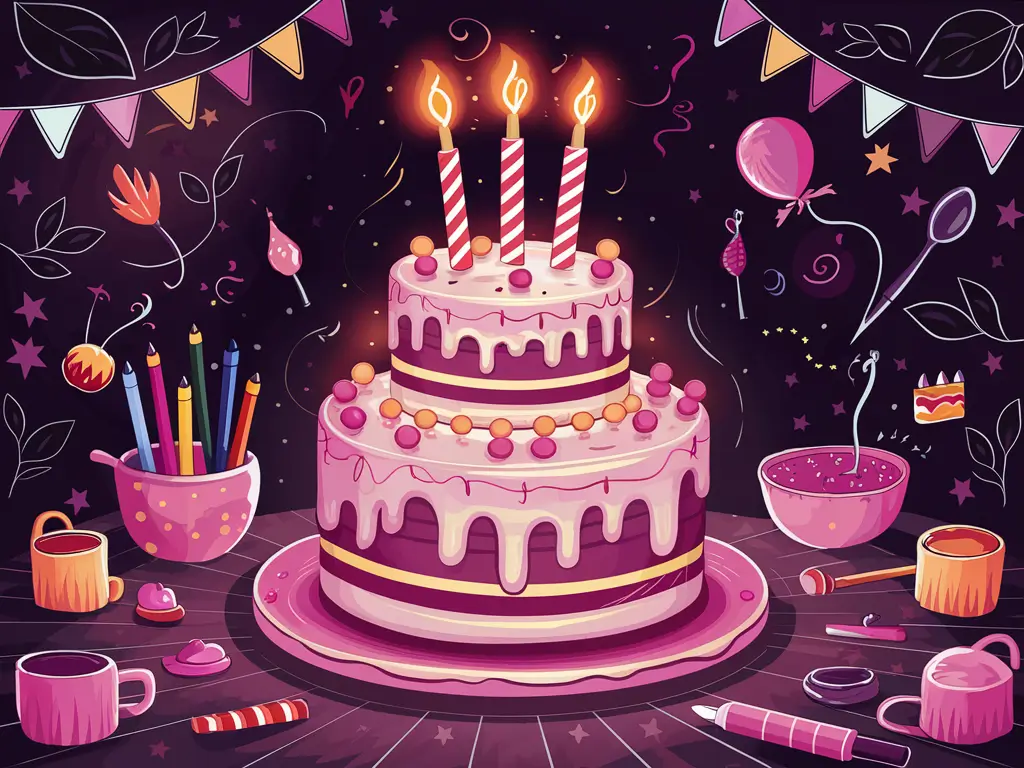
Before starting your birthday cake drawing, set up a workspace that boosts creativity and productivity. The right environment, from lighting to organized supplies, is key. It can greatly impact your artistic journey.
Proper Lighting Setup
Good lighting is crucial for drawing, especially for detailed birthday cake designs. Look for a well-lit area that’s bright but doesn’t hurt your eyes. Natural light is great, but you can also use desk lamps or full-spectrum bulbs.
Organizing Your Drawing Materials
Keeping your drawing materials organized can improve your workflow and clear your mind for creativity. Collect all needed supplies like paper, pencils, and erasers. Place them where you can easily reach them. Use organizers to keep your space tidy.
| Supplies | Description |
| Paper | High-quality drawing paper, such as smooth Bristol board or cold-press watercolor paper, provides an optimal surface for your birthday cake drawing. |
| Pencils | A range of pencils, from 2H to 6B, will allow you to create a variety of line weights and shading effects. |
| Erasers | Keep a kneaded eraser and a white plastic eraser on hand to make precise corrections and adjustments to your drawing. |
| Embellishments | Colored pencils, markers, or even pastels can be used to add vibrant details and textures to your birthday cake illustration. |
With a well-organized and well-lit workspace, you’re all set to create amazing birthday cake drawing, baking drawing, and pastry doodles. Next, we’ll cover the basics of cake shapes and proportions.
Birthday Cake Drawing Fundamentals
Learning to draw cakes is all about mastering basic techniques. As you start making cake illustrations, knowing the basics is key. It will help you create amazing sweet treat artwork.
One important thing in cake drawing is line weight. Changing the thickness of your lines can make your icing designs look more interesting. Use thick lines for the edges and thin lines for details.
- Try different pencil leads or pens for different line weights.
- Focus on smooth transitions between thick and thin lines for a polished look.
Shading is also crucial. It brings your cake to life. Try different shading methods to show light and shadow on your cake.
- Watch how light affects your cake’s shape and texture.
- Use blending tools like stumps or cotton swabs for smooth shading.
Don’t forget about texture. The cake’s softness and the icing designs‘ patterns are important. They make your illustration look real and appealing.
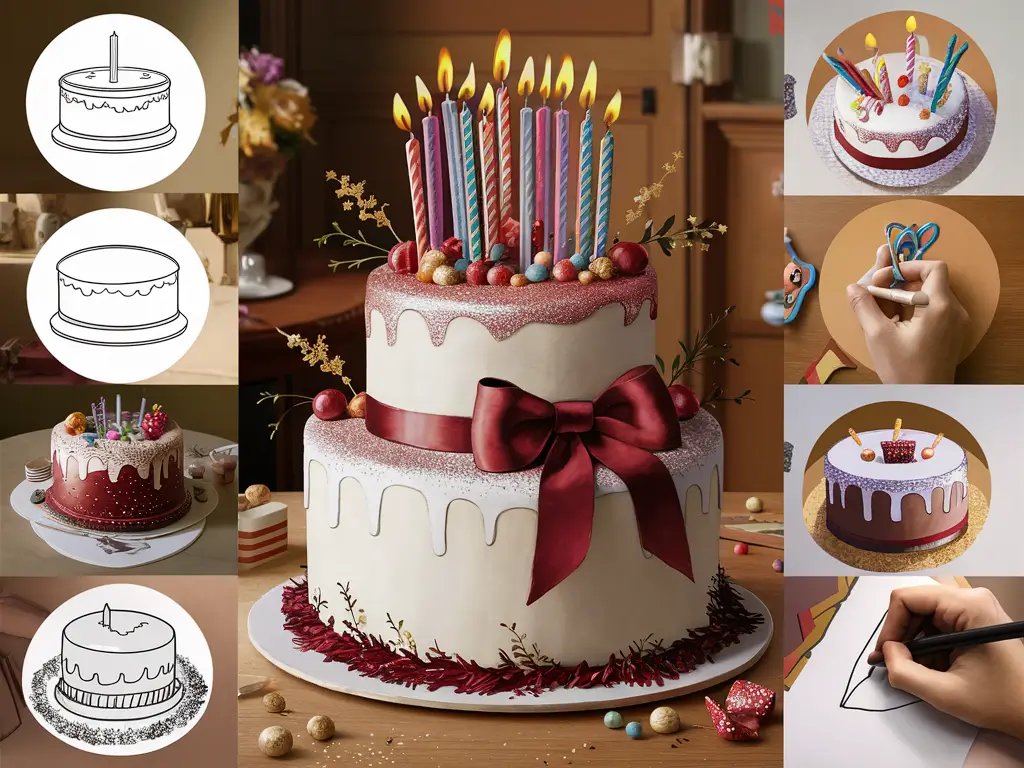
By learning these basic techniques, you’ll get better at drawing cake illustrations. Your work will look great and show off the deliciousness of your sweet treat artwork.
Sketching the Base Layer of Your Cake
Creating a beautiful birthday cake drawing begins with the basics. First, sketch the base layer of your dessert art masterpiece. This step is key for adding the details and layers that make your celebration sketches stand out.
Creating Perfect Circular Forms
Getting the cake’s base circle right is crucial. Start by drawing a guide circle with a compass or a round object. This helps make sure your cake is even and symmetrical. Make sure the circle’s outline is smooth and the curve is consistent.
Layer Stacking Techniques
After the base circle, add the cake layers. Draw a smaller circle on top of the first one for the next layer. Keep making each layer a bit smaller to build up the cake. Pay attention to how the layers line up to make your design look good.
The first step in drawing a birthday cake is setting the foundation. Learning to draw circles and stack layers is essential. It prepares you to add more details and decorations to your dessert art and celebration sketches.
Adding Texture and Dimension to Your Design
Turning your cake illustration into a stunning cake illustration is all about texture and dimension. Use different techniques to make your icing designs come alive. This way, your sweet treat artwork will jump off the page.
Shading is a key technique for adding depth to your cake. Use light and shadow to show off the cake’s layers and frosting swirls. Try different shading levels to create depth and volume.
Adding textural details is also important. For example, use stippling or hatching for fondant’s smooth look. Use rough strokes for buttercream’s fluffy texture. Mix textures to make your design pop.
The aim is to make your cake illustration feel real. Mastering texture and dimension will help you create a stunning sweet treat artwork.
Mastering Icing and Frosting Details
Take your birthday cake drawings to the next level by mastering icing and frosting details. From delicate rosettes to smooth swirls, your depiction can greatly enhance your pastry doodles’ visual appeal.
Different Frosting Patterns
Try out various frosting patterns to add depth to your birthday cake illustrations. Piped rosettes, swirling ruffles, and neat borders can make your cake design stunning. Learn about different frostings’ textures and techniques, like royal icing’s smooth sheen or Swiss meringue’s fluffy look.
Creating Realistic Texture Effects
Make your icing designs come alive with realistic textures and frosting nuances. Use layering to create depth and focus on shading and highlights. Mastering realistic pastry doodles can take your birthday party decorations to new heights.
| Frosting Type | Texture Characteristics | Recommended Drawing Techniques |
| Buttercream | Smooth, creamy, and fluffy | Use soft, blended strokes to create the illusion of a light, airy texture |
| Royal Icing | Shiny, glossy, and hard-set | Apply thin, precise lines and gradients to capture the sleek, polished appearance |
| Fondant | Smooth, pliable, and seamless | Utilize uniform, flowing strokes to depict the consistent, velvety texture |
Mastering icing and frosting nuances will help you create birthday party decorations that wow your audience and show off your artistic skills.
Incorporating Decorative Elements
As you create your birthday cake drawing, adding decorative elements can make it stand out. Vibrant flowers and playful sprinkles are just the start. They can turn your sweet treat artwork into a stunning celebration sketch.
Think about the theme you want for your cake. Do you want it to be whimsical, romantic, or elegant? This will help you choose the right decorations. For example, delicate rosebuds or colorful candies can add a special touch.
When drawing these details, focus on size and placement. Make sure they fit well with the cake’s size and shape. Try different layouts to find the best look.
- Add lifelike flowers like roses or peonies for natural beauty.
- Use bows, ribbons, and swags for elegance.
- Include edible pearls and sprinkles for whimsy.
The secret to amazing birthday cake drawings is in the details. By combining your art skills with attention to detail, you can make a simple cake into a masterpiece. It will celebrate the joy of the day.
Drawing Realistic Candles and Flames
To make your birthday cake illustration pop, you need to get good at drawing candles and flames. It’s all about capturing the soft glow of candle wax and the dancing flames. These details can make your artwork feel more real and festive.
Capturing Light and Shadow
When drawing a candle, focus on light and shadow. The wax should look soft and let the flame’s light through. Use soft shading to show the candle’s shape and size. Make sure the flame’s light casts real shadows on the cake.
Making Flames Look Dynamic
Flames are always moving, so your drawings should show this. Use quick, bold strokes to capture the flame’s movement. Change the flame’s height and shape to make it look more real. Let the flames spill out of the candle for a more exciting look.
Learning to draw realistic candles and flames can take your birthday cake art to the next level. Focus on light, shadow, and movement to bring your candle drawings to life. This will make your artwork truly stand out.
Color Theory for Cake Illustrations
Making amazing cake illustrations needs a good grasp of color theory. If you want to be a pro at dessert art, knowing color basics is key. This knowledge helps you pick the right colors and add depth, contrast, and interest to your cake designs.
Primary, Secondary, and Tertiary Colors
The basics of color theory start with primary colors: red, blue, and yellow. These colors are the foundation for all others. Mixing primary colors gives you secondary colors: orange, green, and purple. Tertiary colors come from mixing primary and secondary colors, adding more depth to your cake illustration palette.
Complementary and Analogous Colors
Complementary colors, like red and green or blue and orange, are opposite each other on the color wheel. They create bold contrast and make certain parts stand out in your dessert art. On the other hand, analogous colors, next to each other on the wheel, make for a smooth and unified sweet treat artwork look.
| Color Scheme | Description | Example |
| Complementary | Colors that are opposite on the color wheel, creating high-contrast pairings. | |
| Analogous | Colors that are adjacent on the color wheel, creating a more harmonious palette. |
Knowing these color basics lets you create stunning cake illustrations that grab people’s attention. Color theory is a powerful tool in sweet treat artwork. Use it to make your ideas come to life.
Creating Shadow and Highlight Effects
Learning to add realistic shadows and highlights to your birthday cake drawing can elevate your pastry doodles. It’s important to know the light source direction and use blending techniques. These steps are key to achieving a 3D effect in your baking drawing.
Understanding Light Source Direction
The light source’s placement and angle greatly affect shadows and highlights in your cake drawing. Notice how light hits the cake’s surfaces. Use this to draw shadows accurately. Make sure the light’s intensity and direction look natural for a believable drawing.
Blending Techniques for Depth
- Use blending tools like stumps, tortillons, or your fingers to smoothly blend light and dark.
- Try layering different shades and hues to add depth and dimension to your pastry doodles.
- Work on blending smoothly to avoid harsh edges. This makes your birthday cake drawing look cohesive and appealing.
“The key to a captivating cake illustration is mastering the delicate balance of light and shadow.
By understanding light direction and mastering blending, you can make your baking drawing come alive with amazing shadow and highlight effects. Don’t be afraid to experiment and let your creativity show in your birthday cake drawing!
Adding Personal Touch with Creative Details
Creating captivating cake illustrations comes alive with a personal touch. Adding unique elements to your birthday party decorations and celebration sketches shows your creativity. It also makes your drawings memorable and meaningful.
One way to add a personal touch is by using themed decorations. For a superhero-themed birthday, include mini figurines or comic book patterns. For a nature lover, use flower petals or botanical designs.
- Add custom messages or names to the cake for a personalized touch.
- Incorporate the celebrant’s favorite characters, hobbies, or symbols into the design.
- Experiment with unique textures, such as fondant or gum paste, to create eye-catching decorative elements.
When adding personal touches, balance creativity with realism. Let your imagination run wild but keep the design cohesive. Focus on scale, proportion, and placement to make it believable.
“The true essence of art lies in its ability to capture the unique spirit of the individual, transforming a simple cake into a cherished work of art.”
By adding personalized details, you create a unique masterpiece. It celebrates the occasion and touches hearts.
Common Mistakes to Avoid in Cake Drawing
Making a beautiful birthday cake drawing is more than just being artistic. Even experienced artists can make mistakes that ruin their dessert art. Let’s look at the top errors to avoid when drawing birthday cakes and icing designs.
Perspective Problems
One big mistake in cake drawings is getting the perspective wrong. It’s easy to focus too much on the icing, candles, and decorations. Then, you might notice the cake’s shape or layers are not right.
Make sure to check the cake’s shape and the size of each layer. This will help your drawing look good and balanced.
Color Balance Issues
Birthday cakes are known for their bright colors, but it’s important to use them right. Too much color or colors that clash can make your drawing look bad. Try using colors that go well together, gradients, and white space.
This will help your cake drawing look good and make people want to eat it.
| Common Cake Drawing Mistakes | Solutions |
| Perspective and Proportion Issues | – Carefully observe the overall cake silhouette- Ensure consistent layer sizes and spacing |
| Color Balance Problems | – Use complementary colors- Incorporate gradients and white space- Avoid oversaturated hues |
By watching out for these common mistakes, you can make your birthday cake drawings amazing. They will impress everyone with your skill in perspective, proportion, and color. With practice and careful attention, your dessert art will be a feast for the eyes.
Digital Tools and Tips for Cake Drawing
If you love cake illustration, you might want to try digital tools. They can make your sweet treat artwork even better. Digital tools let you play with icing designs, textures, and effects that are hard to do by hand.
Procreate is a top choice for cake illustration. It’s easy to use and has lots of brushes and tools. You can make detailed icing designs, add textures, and use bright colors in your sweet treat artwork.
Adobe Photoshop is another great tool. It lets you stack layers, change light and shadows, and perfect your cake illustration. If you’re on a budget, Krita or Inkscape are good options. They have lots of features for cake drawing.
Switching to digital cake illustration means learning new ways to draw. Try different styluses like the Apple Pencil or a Wacom tablet. Learn about layer blending modes, masking tools, and color adjustments in your software. This will help you get the icing designs and effects you want.
“The joy of digital cake illustration lies in the endless possibilities for experimentation and refinement. Embrace the versatility of these tools to unleash your creativity and bring your sweet treat artwork to life.”
Digital tools can make your cake illustration more precise and creative. Explore the digital world and let your imagination run wild. Create amazing sweet treat artwork that catches the eye.
Showcasing Your Birthday Cake Artwork
Once you’ve mastered the art of creating stunning birthday cake drawings, it’s time to share your creations with the world. Proper presentation and exposure can help elevate your skills and inspire others to explore their own artistic talents. Let’s dive into the key strategies for effectively showcasing your birthday cake artwork.
Photography Tips for Art Sharing
High-quality photography is essential for presenting your birthday cake drawings online. Capture your artwork using natural lighting and a clean, uncluttered background. Try various angles and perspectives to discover the most visually striking shots. Remember to focus on the details and textures of your cake illustration to showcase your artistic prowess.
Social Media Presentation Guidelines
Social media platforms offer an excellent opportunity to share your birthday cake drawings and connect with a wider audience. When creating posts, use relevant hashtags like #birthdaycakedrawing, #celebrationssketches, and #birthdaypartydecorations to increase discoverability. Craft eye-catching captions that highlight the process or inspiration behind your artwork. Engage with your followers by encouraging them to share their own cake-inspired creations.
FAQ
What are the essential art supplies for creating a birthday cake drawing?
You’ll need: – High-quality paper or sketchbook – Pencils in various grades (HB, 2B, 6B) – Colored pencils, markers, or watercolors for color – Erasers to refine your drawing – Ruler or drafting tools for precise lines – Embellishments like glitter pens, metallic markers, or white gel pens for extra details
How do I accurately represent different cake shapes and proportions in my drawing?
To get cake shapes right, learn the basics like round, square, and tiered designs. Make sure your drawing is the right size and perspective. Use real cake pictures as references to get the details right.
What are some key techniques for adding texture and dimension to my birthday cake drawing?
For texture and depth, use shading to mimic different cake surfaces. Try cross-hatching, stippling, and gradients to make your cake look three-dimensional. Focus on how light and shadow play on the cake’s surface.
How do I draw realistic icing and frosting details on my cake?
To draw icing and frosting, study different frosting styles and textures. Use your pencil to mimic frosting techniques. Add shading and highlights to make it look real and dimensional.
What are some tips for incorporating decorative elements into my birthday cake drawing?
Add decorations like flowers, fruits, sprinkles, bows, or edible pearls. Study their shapes and textures to fit them well in your cake drawing. Try different arrangements to make your design appealing and cohesive.
How can I create realistic-looking candles and flames on my birthday cake drawing?
To draw candles and flames, focus on the wax’s translucency and the flames’ movement. Use shading and highlighting to show light and shadow. Play with shapes and movements to make them look real and lively.
What are some common mistakes to avoid when creating a birthday cake drawing?
Avoid mistakes like wrong proportions or distorted shapes. Also, watch out for color issues, like too much color or bad balance. Don’t forget about details, texture, and dimension. And make sure icing, frosting, and decorations look realistic.
How can I effectively showcase my birthday cake drawings on social media?
To show off your cake drawings, take high-quality photos. Use good lighting and a clean background. Edit your photos if needed. Write catchy captions that highlight your work. Use hashtags and interact with the cake art community to get noticed.
