With our simple instruction, how to design an amazing birthday cake sketch. Drawing the ideal birthday cake is simple whether your level of skill with art is high or low. We’ll walk you through three short simple procedures to create amazing cake designs.
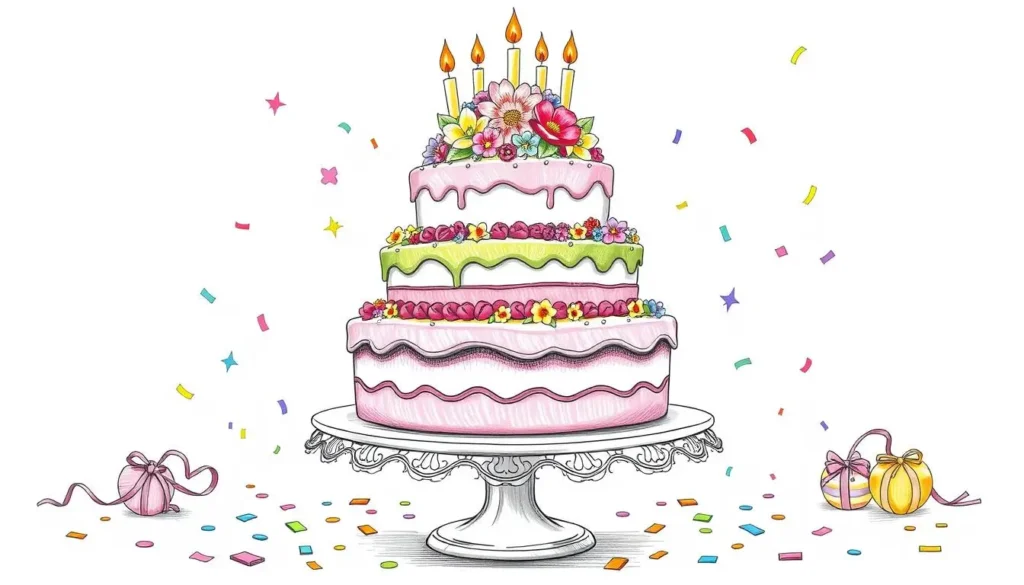
Table of Contents
Understanding the Basics of Cake Drawing
Learning to draw cakes is the first step in baking illustration or edible art design. Whether it’s for a birthday or a magazine, knowing the basics is key. You’ll need the right tools, a good workspace, and basic techniques to start.
Essential Drawing Materials
To start drawing cakes, you’ll need some basic items. A good sketchbook, pencils (soft to hard), erasers, and a sharpener are must-haves. Adding colored pencils, markers, or watercolors can make your drawings pop.
Setting Up Your Workspace
Your workspace should be comfortable and organized. Look for a bright, spacious area with enough room for your stuff. Keep your drawing area clean and clutter-free. A drawing board or easel can help keep your work stable.
Basic Sketching Techniques
- Start with light, gestural lines to capture the overall shape and proportions of the cake.
- Gradually build up details using a variety of line weights and shading techniques.
- Experiment with different sketching motions, such as circular, sweeping, or hatching strokes, to achieve various textures and effects.
- Refine your drawing by erasing and adjusting as needed, ensuring a polished final result.
Mastering these basics will help you create amazing baking illustrations and edible art. Your drawings will bring any celebration or culinary creation to life.
The Art of Birthday Cake Sketching
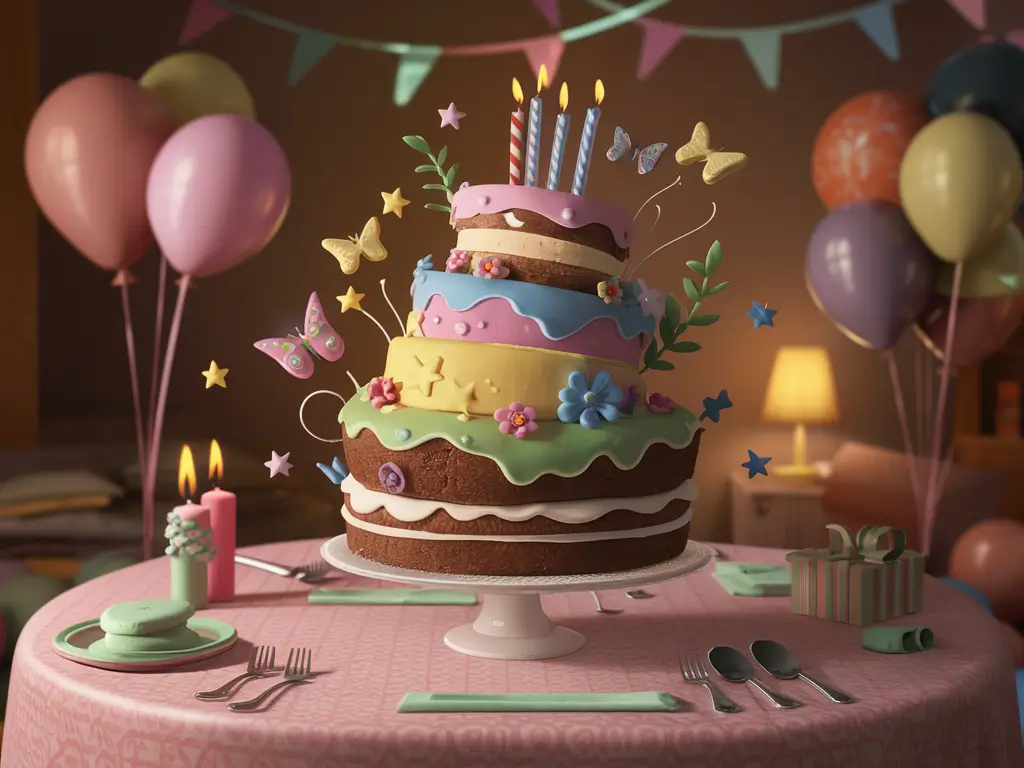
Creating a birthday cake sketch is a challenge for artists. It’s a chance to add joy and festivity to your drawings. You can use bright colors and detailed designs to make the cake come alive.
At the core of birthday cake art is capturing the celebration feeling. Your drawings should show the excitement of a birthday party. By learning pastry illustration and confectionary design, you can make your cake sketches truly special.
Embracing the Celebratory Mood
To make your birthday cake sketches feel festive, try these tips:
- Use bright, festive colors to show the joy of a birthday.
- Add whimsical touches like candles, sprinkles, or patterns.
- Show the cake as a big, important part of the celebration.
- Include personal touches that show the birthday person’s unique style.
Capturing the Essence of Celebration
The real skill in birthday cake sketching is capturing the celebration’s essence. By mastering birthday celebration art, you can show more than just the cake. You can share the emotions and memories of a birthday.
“The true artist is not the one who reproduces, but the one who creates.” – Oscar Wilde
Let your creativity shine in your sketches. Show the joy, laughter, and love of a birthday. Your artwork can turn a simple cake into a symbol of cherished moments.
Getting Started with Basic Shapes and Forms
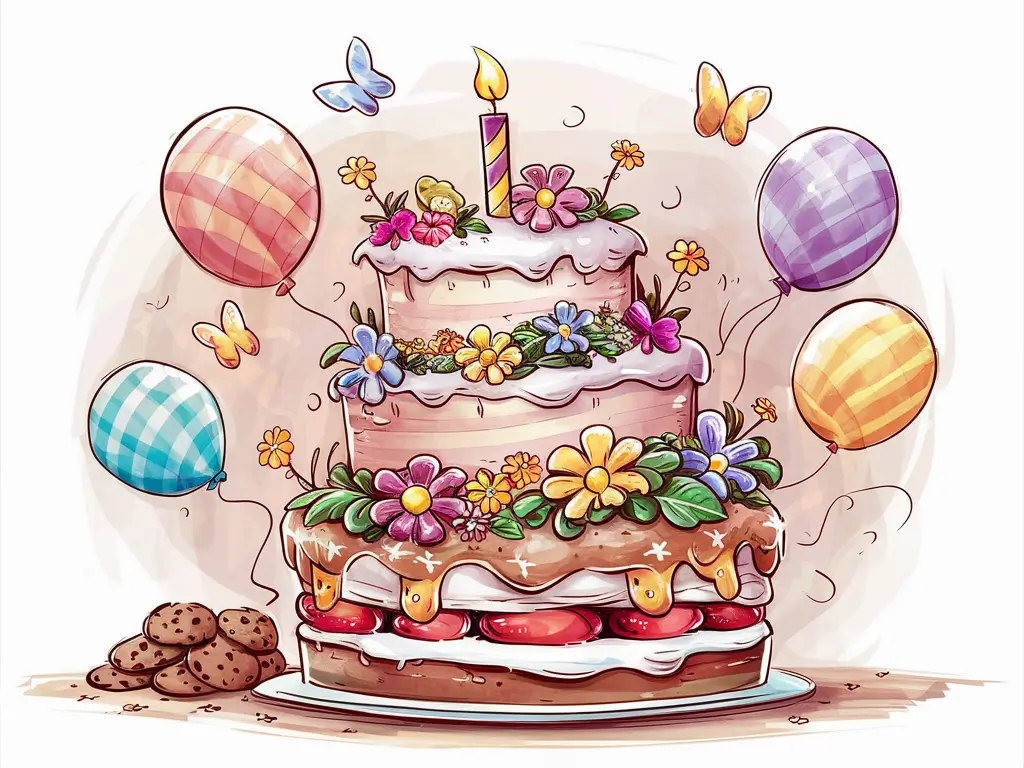
Creating a stunning birthday cake sketch starts with learning the basics of shape and form. As a budding cake drawing artist, knowing the fundamental elements of cake design is key. We’ll cover essential techniques to lay the groundwork for your dessert art masterpiece.
Mastering Circular Bases
The circular base is the starting point for any birthday cake sketch. Begin by drawing a simple circle, making sure it fits the cake size you want. Focus on smooth, confident lines that clearly define the shape. Keep practicing until you can draw circles that are even and well-proportioned.
Creating Layer Dimensions
- Split the circular base into the number of cake tiers you want, thinking about the overall look and balance.
- Draw each layer, making each one smaller to show depth and dimension.
- Try different layer sizes and spacing to make your edible art design look good.
Perspective Guidelines
- Use perspective to add depth and realism to your cake sketch.
- Notice how the size and position of layers change as they go into the background.
- Use vanishing points and lines to make your drawing look three-dimensional.
Learning these basic drawing skills will help you create amazing birthday cake sketches. Your talent and love for cake drawing will shine through. With hard work and practice, you’ll make detailed, realistic dessert art that will wow everyone.

Essential Tools for Dessert Art
Making amazing baking illustrations, tasty sweet food sketches, and joyful pastry illustrations needs the right tools. Whether you’re an experienced artist or new to dessert art, having the right tools is key. It can greatly improve your creative process and the quality of your work.
Here’s a list of must-have tools for your dessert art toolkit:
- High-quality Pencils: Get a set of versatile pencils. They should range from soft, dark leads for bold lines to light, delicate ones for shading and details. Brands like Prismacolor and Faber-Castell are great for creating stunning baking illustrations.
- Erasers: Choose a soft-textured eraser that can gently remove lines without damaging the paper. A kneaded eraser is perfect for precise work and creating highlights.
- Sketch Pads: Pick a sketchpad with thick, smooth paper. It should handle multiple layers of pencil work without bleeding or pilling. Look for pads made for dry media, like those from Strathmore or Canson.
- Blending Stumps: These tools help blend and soften pencil strokes. They create the illusion of smooth, realistic textures in your sweet food sketches.
- Reference Materials: Gather inspiring images, photos, or real-life desserts for references. This helps you accurately capture the details and proportions of your subject matter.
With these essential tools, you’ll be on your way to making captivating and realistic dessert art. It will impress and delight your audience.
Birthday Cake Sketch – Step-by-Step Guide
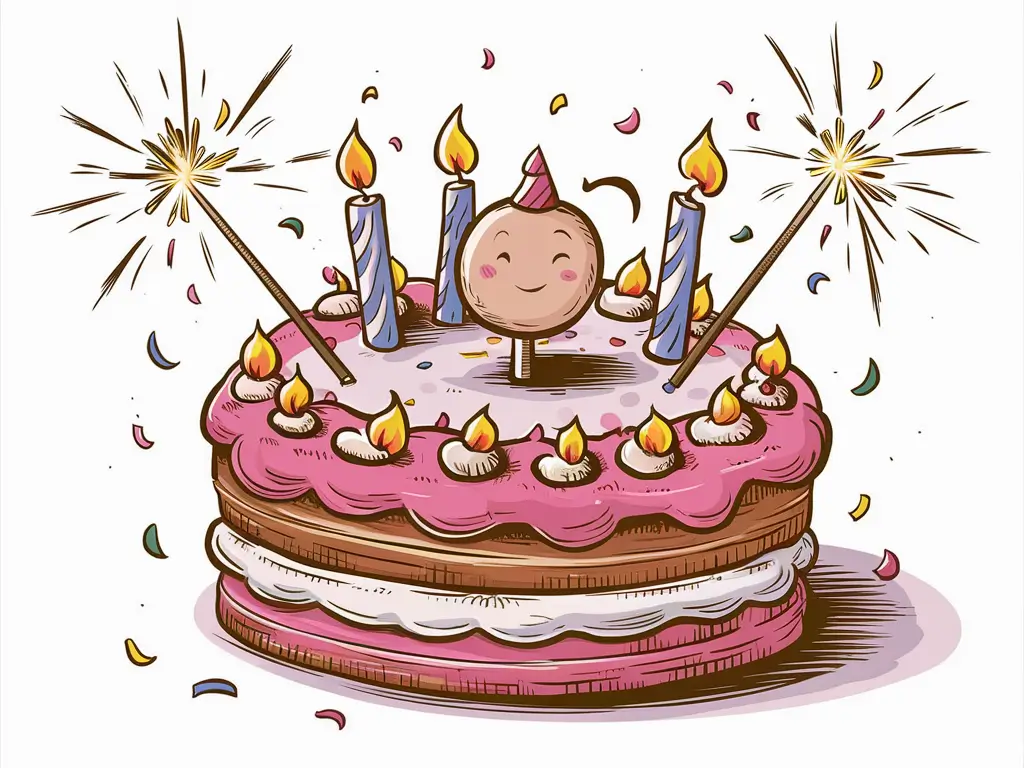
Learning to draw a birthday cake is a fun journey. This guide will show you how to create a birthday cake sketch step by step. We’ll cover everything from the first lines to the final details.
Initial Line Work
Start your cake drawing by drawing the basic shape. Sketch the circular base and then add the cake tiers on top. Make sure the proportions are right. The lines you draw now will be the base of your birthday cake sketch.
Adding Depth and Shadow
To make your birthday cake sketch look real and beautiful, add depth and shadow. Use shading to show the cake’s layers and edges. Try different pencil strokes to get the right depth and look.
Final Details and Refinements
The last step is adding the small details that make the cake look alive. Draw the icing artwork carefully, from the piping to the patterns. Focus on the small things, as they make your sketch special.
Remember, the secret to a great birthday cake sketch is practice and attention to detail. Follow these steps, and you’ll soon be creating amazing birthday cake drawings.
Mastering Cake Layer Proportions
When you’re into cake drawing and edible art design, getting the cake layers right is key. It makes your confectionary design look real and appealing. Knowing the best ratios and techniques can make your sketches look pro and polished.
The height of the cake is important. Birthday cakes usually are 4 to 8 inches tall, with 6 inches being the most common. To draw it right, start with the base layer as the bottom. Then, add more layers, keeping them balanced and even.
- For a standard 6-inch cake, the base layer should be about 2 inches tall. The other 4 inches are split between the top layers.
- If you’re drawing an 8-inch cake, the base layer can be 3 inches. This leaves 5 inches for the top layers.
- For a smaller 4-inch cake, the base should be around 1.5 inches. The top layers will take the remaining 2.5 inches.
These are just starting points. You can change them to fit your cake drawing style or the look you want. Try different layer heights and ratios to find what looks best for your edible art design.
| Cake Height | Base Layer | Upper Layers |
| 4 inches | 1.5 inches | 2.5 inches |
| 6 inches | 2 inches | 4 inches |
| 8 inches | 3 inches | 5 inches |
Mastering cake layer proportions lets you create confectionary design sketches that are stunning and true to life. Use these guidelines as a starting point. But don’t hesitate to try new things and find your own style.
Drawing Decorative Icing Elements
Learning to draw decorative icing elements is key for stunning birthday cake illustrations. This guide covers piping techniques and texture creation. It will help you bring your pastry illustrations to life.
Piping Techniques in Sketching
Piping icing is a basic skill in cake decorating. It’s also vital in your sketches. You’ll learn to show different piping styles like shells, rosettes, and swirls. This adds depth and dimension to your icing artwork.
Understanding how to show the flow and movement of piped icing is crucial. It lets you capture the essence of this decorative element in your sweet food sketch.
Texture Creation Methods
Textural elements make your pastry illustration look real and appealing. You’ll learn to create the look of smooth fondant, fluffy buttercream, and detailed piped designs. Use shading, hatching, and stippling to mimic different icing textures.
Mastering decorative icing elements in your sketches takes practice, patience, and attention to detail. With these skills, your birthday cake illustrations will truly show the beauty of the sweet treat.
Adding Candles and Toppers
Bringing your birthday cake drawing to life isn’t complete without candles and toppers. These touches make your birthday celebration art special and add a personal flair. Let’s look at how to add these elements to your cake sketch.
Placing the Candles
When placing candles, think about the cake’s size and look. Place them on the top tier for a classic look. Try different candle heights and numbers for a unique look.
Selecting Toppers
Toppers can be simple shapes or detailed figurines. Pick ones that match your cake drawing’s style. A whimsical character or a celebratory message can make your birthday celebration art stand out.
Positioning the Toppers
- Put the topper(s) on the top tier, making sure they don’t take over the design.
- Think about the topper’s size compared to the cake.
- Try different placements, like centered or off-centered, to find the best look.
Mastering candles and toppers in your cake drawing makes a birthday celebration art that’s truly special. Let your edible art design show off your creativity!
Creating Realistic Texture Effects
To make your dessert art or baking illustration pop, you need to master texture. We’ll cover the key techniques to take your cake sketches to the next level. This will make them truly eye-catching.
Shading Techniques
Shading is key for realistic textures. Try out hatching, cross-hatching, and stippling to add depth. Study how light and shadow work to create depth and volume.
Surface Detail Methods
Adding fine details brings your dessert art to life. Use a fine-tipped pen for patterns or a blending stump for softness. Focus on the unique look of each cake part, like fondant or buttercream.
Creating realistic textures takes patience and practice. By mastering shading and details, your baking illustrations will wow everyone.
“The secret to creating realistic textures in cake sketches lies in the details. Embrace the nuances of each surface and let your creativity shine through.”
Color Theory for Cake Illustrations
Creating amazing icing artwork and sweet food sketch needs a good grasp of color theory. As someone who loves pastry illustration, using color right can make your birthday cake drawings stand out. We’ll look at picking the right colors, blending them, and using color to grab attention in your icing artwork.
Choosing the Right Colors
Good pastry illustration starts with picking the right colors. Learn about the color wheel and how colors relate to each other. Try out complementary colors, similar hues, and neutrals to make your sweet food sketch pop.
Mastering Color Blending
Blending colors smoothly is key for a pro-looking icing artwork. Try gradient shading, layering colors, and soft blending to add depth and realism. Practice to get better at mixing colors and creating harmony.
Enhancing with Strategic Color Use
Using color wisely can really boost your sweet food sketch. Use color to guide the viewer’s eye, set the mood, and show off your icing artwork‘s details. Play with contrasts, tonal values, and harmonies to make your birthday cake art stunning.
“”Color is the meeting point of the brain and the universe.” – Paul Klee
Learning color theory can take your pastry illustration to the next level. Use color to make your icing artwork more beautiful and sophisticated.
Advanced Decoration Techniques
Exploring cake sketching reveals the secrets of advanced decoration. You’ll learn to draw intricate flowers and patterns. This section will show you how to create stunning confectionary designs.
Drawing Flowers and Patterns
Adding flowers and patterns to your cake sketches brings elegance. Learn to sketch petals, leaves, and detailed designs. Try different styles to match your cake’s look.
Creating Fondant Effects
Fondant offers endless possibilities for icing artwork. Discover how to work with fondant’s texture and folds. Learn to create cakes, ribbons, and decorations that add depth to your sketches.
Mastering these techniques takes practice and attention to detail. Let your creativity shine as you improve your edible art design and confectionary design skills. The art of icing artwork awaits.
Common Sketching Mistakes to Avoid
Mastering cake drawing requires practice and patience. Certain common mistakes can hinder your progress.Knowing these pitfalls helps you improve your dessert art skills. This way, you can create more polished, professional birthday cake sketches.
- Neglecting Proportions: Accurate proportions are key in cake drawing. If you don’t size and position the cake right, it looks off. This makes your illustration unbalanced and not appealing.
- Lacking Perspective: A cake is three-dimensional, and you need to show that in your birthday cake sketch. Without proper perspective, your cake looks flat and two-dimensional.
- Overworking the Details: Too many details can make your dessert art look cluttered. It’s important to find a balance. Too much detail can ruin the overall look of your sketch.
- Inconsistent Shading and Textures: The right shading and textures are crucial for a cake drawing. If they’re not consistent, your cake looks unfinished or amateurish.
By avoiding these mistakes and focusing on the basics of cake drawing, you can improve your birthday cake sketches. This will help you create stunning dessert art.
“The secret to exceptional cake drawing lies in meticulous attention to detail and a strong grasp of the underlying forms and structures.”
Enhancing Your Cake Drawing with Details
Mastering birthday cake sketching is just the start. Now, it’s time to add personal touches and unique details. Let your creativity shine in your sketchbook.
Adding Personal Touches
Make your cake drawings your own by adding personal elements. Think about symbols, patterns, or motifs that mean something to you. It could be a favorite flower or your initials.
These personal touches make your sketches unique and authentic. They show your individual style and interests.
Making Your Sketch Unique
Don’t be afraid to try new things in your birthday celebration art. Experiment with colors, textures, and decorations. The more you try, the more your sketches will show your unique style.
Be bold and let your cake drawings reflect your artistic vision. It’s okay to be different. Your sketches should be a true reflection of you.
FAQ
What materials do I need to start sketching a birthday cake?
You’ll need a sketchpad or drawing paper and high-quality pencils (2H to 6B). A kneaded eraser and blending stump or cotton swabs are also key. A ruler and colored pencils or markers can help with details and color.
How do I create the basic shape of the cake in my sketch?
Start with a circular base for the cake. Then, add layers on top, making each one smaller. This will give your cake a tiered look. Make sure the layers are balanced and look real.
What techniques can I use to add depth and realism to my cake sketch?
Apply shading techniques such as hatching, cross-hatching, and blending to create depth and dimension. Darker values create shadows, while highlights add volume. Also, focus on the cake’s texture, like the frosting’s smoothness or the cake’s crumbs.
How can I make my birthday cake sketch more visually appealing?
Add decorations like piped icing, sprinkles, candles, or toppers. Try different icing textures and patterns for a festive look. Use color to make the cake pop and celebrate the birthday.
What are some common mistakes to avoid when sketching a birthday cake?
Avoid wrong proportions, poor perspective, and neglecting texture and details. Also, be careful with colors. Practice and be patient, as a great cake sketch takes time and effort.
