Release your creative ability and find delight in drawing beautiful cakes. Whether you’re a novice artist or an experienced one, this book is for everyone. The fundamental techniques, equipment, and advice will help you to realize your cake ideas.
You will travel from learning to master decorative elements to capturing the subtle textures of buttercream. This path blends your love of baking with your artistic inclination.
Table of Contents
Essential Art Supplies for Cake Drawing
To draw cakes on paper, you need the right tools. Whether you’re experienced or new, good art supplies are key. They help bring your cake drawings to life.
Choosing the Right Paper and Pencils
Choose a smooth, heavy paper for drawing. It should handle layers and blending well. Bristol board or hot-pressed watercolor paper are great options.
Get a variety of pencils. Soft, medium, and hard leads help with different lines and shading.
Color Materials and Tools
Use high-quality colored pencils, markers, or paints for vibrant colors. Try different mediums to match your style and detail level. Also, get blending stumps or tortillons for smooth colors.
Additional Drawing Accessories
Use a kneaded eraser, sharpener, and ruler to improve your drawings. These tools help with lines, erasing, and keeping proportions right.
With the right cake design and sweet treat drawing supplies, you’ll create amazing cake illustrations. They’ll show off the delicious details and textures of your favorite treats.

Understanding Basic Cake Shapes and Proportions
Learning to draw cakes starts with knowing the basic shapes and sizes. Whether it’s a simple round cake or a fancy tiered one, getting the shape right is key. It makes your cake drawings look real and appealing.
Here are the basic cake shapes and sizes to remember for your cake drawing skills:
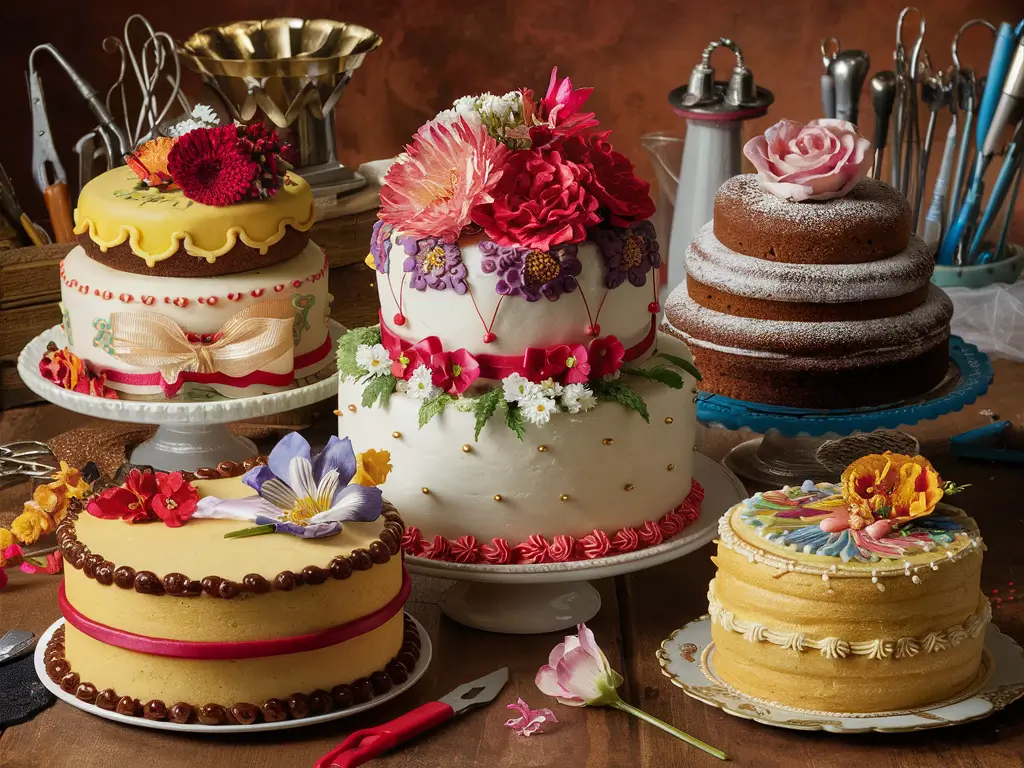
- Round Cakes: The classic round cake is often the starting point for many cake illustrations. Aim to capture the even, cylindrical shape with gently sloping sides.
- Square Cakes: Square cakes offer a clean, modern look. Focus on maintaining sharp, well-defined edges and corners in your sketches.
- Rectangular Cakes: Similar to square cakes, rectangular designs feature straight, parallel sides. Pay attention to the proportions, ensuring the length and width are in harmony.
- Tiered Cakes: Intricate tiered cakes require accurate representation of each layer’s size and how they stack together. Observe the subtle tapers and alignments between tiers.
Using these basic shapes and sizes in your cake sketching and dessert illustration will make your drawings more realistic and eye-catching. Learning these basics is the first step to mastering more complex cake designs.
| Cake Shape | Proportions |
| Round | Even, cylindrical shape with gently sloping sides |
| Square | Sharp, well-defined edges and corners |
| Rectangular | Straight, parallel sides with balanced length and width |
| Tiered | Subtle tapers and precise alignments between layers |
Mastering the Art of Cake Drawing Techniques
To take your cake drawing to the next level, you need to learn advanced techniques. Understanding how to control line weight, shading, and texture can make your cake drawings pop. They will go from flat to truly captivating.
Line Weight and Pressure Control
Using line weight can bring your cake drawings to life. Changing the thickness and intensity of your lines adds depth and dimension. Try using different pressures on your pencil or tool to get this effect.
Lighter lines can show off delicate details. Meanwhile, thicker lines can highlight the structure and form of your cake.
Shading Methods for Depth
Shading is key to adding depth and realism to your cake drawings. Try out techniques like hatching, cross-hatching, and blending for rich tones. Focus on the direction and intensity of your shading to capture light and shadow effects.
Mastering shading will make your cake designs look three-dimensional.
Texture Creation Approaches
Adding texture to your cake illustrations is essential for a realistic look. Experiment with techniques like stippling, scumbling, and sgraffito for fondant, buttercream, and more. Look at real cakes for inspiration and try to replicate their textures with different marks and strokes.
By using these advanced cake drawing techniques, you can make your cake design illustrations more engaging. They will have depth, dimension, and realism that will wow your audience.
Creating Realistic Cake Layers
Mastering the art of drawing realistic birthday cakes is all about the details. You need to focus on the textures and structures of different cakes. This makes your cake look appealing and inviting.
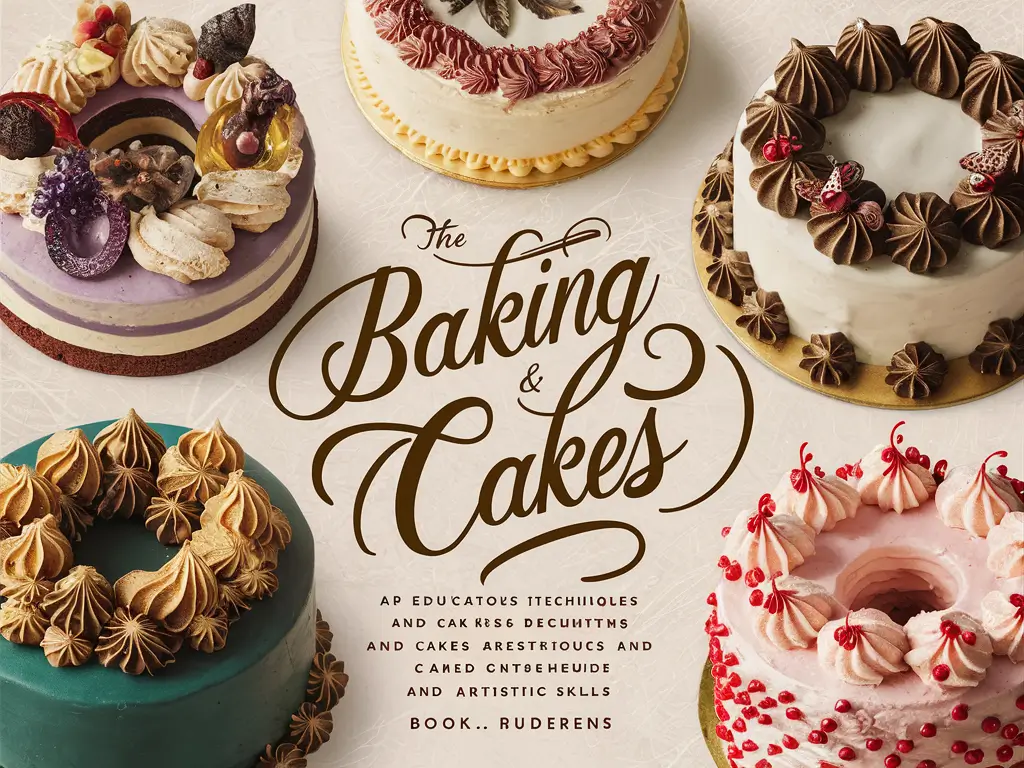
Dense cakes, like pound cake, have a tight, fine-grained look. Light and airy sponge cakes are different. Knowing these differences helps you draw each layer accurately.
When drawing a cake, notice the small details that make each layer unique. Try different line weights, shading, and textures. This will help you achieve realistic and detailed cake layers.
The secret to realistic cake layers is observing and drawing what you see. With practice, your birthday cake drawings will look amazing and lifelike.
Drawing Different Cake Textures and Surfaces
To make a cake design pop, you need to get good at drawing different textures and surfaces. From the shiny look of fondant to the feel of buttercream, each part is key. They all work together to make your drawing look like a tasty treat.
Smooth Fondant Surfaces
Fondant is loved for its smooth look. To draw it right, use light strokes and build up the color slowly. This will give you a shiny finish. Make sure the edges and corners look smooth too, blending well with the cake’s shape.
Textured Buttercream Effects
Make your cake drawings stand out by learning to draw textured buttercream. Try using tools like offset spatulas and cake combs to get different patterns. Watch how light hits the buttercream’s bumps and valleys, and add shading to make it feel real.
Creating Realistic Drips and Glazes
Finish your cake designs with realistic drips and glazes. Look at how liquids move and settle, and use shading and highlights to show their wet look. Play with different thicknesses and textures, like chocolate ganache and fruit glazes.
By getting better at drawing different cake textures and surfaces, your drawings will impress everyone. They’ll make people want to taste the cake.
Adding Decorative Elements to Your Cake Design
To make your cake drawings look professional, add detailed decorations. Use vibrant flowers and succulent fruits to bring your dessert illustrations to life. We’ll show you how to improve your cake drawing and dessert illustration skills.
Edible flowers are a favorite in cake design. They add elegance and flavor to your cake. When drawing flowers, focus on their delicate petals and bright colors for a realistic look.
Fresh fruits can also add color and sweetness to your drawings. Try using juicy berries or sliced citrus to make your illustrations more appealing.
- Capture the intricate textures and patterns of leaves and stems to create a sense of depth and dimension in your drawings.
- Experiment with various shading techniques to give your floral and fruit elements a realistic, three-dimensional appearance.
- Consider adding intricate piping, drizzles, or other decorative touches to enhance the overall visual appeal of your cake designs.
By learning to add decorative elements to your cake drawing and dessert illustration, you can improve your skills. Your dessert designs will look professional and impress everyone.
“”Imagination, not knowledge, is the true hallmark of intelligence.” – Albert Einstein
| Decorative Element | Techniques | Considerations |
| Edible Flowers | Capture delicate petal texturesUse vibrant color palettesIncorporate stems and leaves | Ensure flowers are edible and safe for consumptionArrange blooms in a visually appealing mannerConsider the overall flavor profile of the cake |
| Fresh Fruits | Depict realistic textures and shapesUtilize vibrant colors and shadingIncorporate sliced or whole fruits | Choose fruits that complement the cake’s flavorsArrange fruits in a visually appealing compositionConsider the contrast between the cake and the fruit elements |
| Decorative Piping and Drizzles | Master the art of realistic piping techniquesExperiment with different textures and patternsIncorporate drizzles and glazes for added visual interest | Ensure piping and drizzles complement the overall cake designConsider the interplay between different decorative elementsMaintain a balance between the cake’s main features and the embellishments |
Illustrating Popular Birthday Cake Styles
Birthdays are a time to celebrate, and what’s better than a beautifully illustrated birthday cake? Whether you’re an experienced artist or just starting, learning to draw different birthday cake styles can make your art special.
Traditional Round Cakes
The classic round birthday cake is always in style. Focus on the soft edges and smooth frosting to capture its elegance. Try different decorating techniques, like piping, to add details and patterns.
Themed Character Cakes
Themed character cakes are perfect for kids and adults alike. Practice drawing your favorite characters, like a birthday cake sketch of a Disney princess or a birthday cake draw of a superhero. Use bright colors, fun textures, and playful decorations to make the cake come alive.
Modern Geometric Designs
Geometric birthday cakes are popular for their sleek look. Learn to draw sharp angles, clean lines, and bold colors. Try out asymmetrical shapes and simple decorations for a modern look.
Exploring different birthday cake styles can improve your art and capture the joy of birthdays. Whether you’re sketching a birthday cake sketch or drawing a birthday cake draw, let your creativity shine and bring these festive creations to life.
Perfecting Frosting and Icing Details
Creating stunning cake illustrations means mastering frosting and icing details. Whether it’s a birthday cake or a wedding dessert, the frosting texture and flow are key. They bring your cake to life.
We’ll dive into making frosting and icing look real. This includes piped designs, rosettes, and swirls. Learning to create depth and texture will take your cake sketching and cake illustration to the next level.
Capturing Piped Designs
Piped frosting adds patterns and decorations to cakes. To get these designs right, focus on the line flow and direction. Try different line weights and pressure for a natural look.
Rendering Rosette Textures
Rosettes add elegance to cakes. To draw them, use a circular, overlapping shading method. This builds up the volume and depth of each petal.
Illustrating Smooth Swirls
Smooth swirls of icing make a cake design pop. Focus on consistent lines and smooth transitions. Use shading to show the icing’s sheen and depth.
| Frosting Technique | Key Characteristics to Capture | Recommended Drawing Approach |
| Piped Designs | Precise, flowing lines; intricate patterns | Vary line weight and pressure; observe direction and movement |
| Rosette Textures | Layered, swirling petals; volume and depth | Use circular, overlapping shading techniques |
| Smooth Swirls | Seamless transitions; sheen and depth | Maintain consistent line work; experiment with shading |
Mastering these frosting and icing techniques will enhance your cake sketching and cake illustration. Your work will truly show off the beauty of your cake designs.
Drawing Wedding Cake Embellishments
Wedding cakes are a canvas for cake design and dessert illustration. They feature delicate flowers and intricate lace. We’ll explore the techniques to draw these beautiful details.
Floral Decorations
Flowers add romance and sophistication to wedding cakes. Learn to draw various flowers like roses and peonies. Focus on shading, petal placement, and color blending for stunning floral accents.
Lace Patterns and Textures
Lace is a favorite decoration for wedding cakes. It requires attention to detail. Learn to draw lace patterns and textures, capturing light and shadow for a captivating dessert illustration.
Mastering these embellishments will help you create beautiful cake design and dessert illustration. Your work will showcase the elegance and romance of weddings.
Mastering Color Theory for Cake Illustrations
To make your cake drawing come alive, you need to know color theory well. As an artist, learning about color can make your sweet treat drawings look amazing and tasty. Let’s dive into the key parts of color theory and how to use them in your cake art.
The color wheel is a basic idea in color theory. It shows how primary, secondary, and tertiary colors work together. This lets you find color combinations that make your cake drawing stand out. Using colors that are opposite each other on the wheel creates bold contrasts. Colors next to each other on the wheel offer a smooth and calming look.
Shading and highlighting are also key in cake drawing. They add depth and texture to your illustrations. Learning how to use gradients, hatching, and cross-hatching can make your cakes look real and tempting.
In sweet treat drawing, knowing how colors affect us is just as important. Some colors can make us feel certain ways, set a mood, or even make us hungry. Warm colors like red, orange, and yellow are lively and energetic. Cool colors like blue and green are calming.
By mixing your color theory knowledge with your art skills, you can make cake drawings that look great and show the true taste of the treat. Try out different color schemes, experiment with shading, and let your imagination run wild.
Creating Shadow and Light Effects
Mastering shadow and light effects is key to making your cake sketches pop. Understanding how light sources create shadows adds depth and realism. This makes your cake drawings more engaging.
Understanding Light Sources
Knowing the different light sources is essential for realistic shadows and highlights. Here are a few to consider:
- Natural light: Sunlight or ambient lighting from windows can cast soft, diffused shadows and highlights.
- Artificial light: Lamps, spotlights, or overhead lighting can create more defined, directional shadows and highlights.
- Mixed lighting: A combination of natural and artificial light can result in a blend of shadow patterns and highlight variations.
Casting Natural Shadows
To get natural-looking shadows in your cake drawings, follow these tips:
- Placement and direction: Think about your light source’s position and angle. Use this to guide where and how shadows fall from your cake’s elements.
- Softness and edges: Distant or diffused light makes shadows soft and blended. Direct light creates sharp, defined edges.
- Gradation and intensity: Shadows fade as they move away from the object, showing a gradual decrease in intensity.
By learning these shadow and light techniques, you can improve your cake sketching and cake illustration skills. Your cake designs will come alive with more depth and realism.
Digital Tools for Cake Drawing
If you love cake design or dessert illustration, digital tools can change your game. Today, many software and apps can make your cake drawings better. They help take your cake design or dessert illustration to amazing levels.
Adobe Photoshop is a top choice for cake artists. It mixes traditional drawing with digital accuracy. You can layer textures and change colors easily. This makes your cake design ideas come to life.
The iPad with a stylus and apps like Procreate or Autodesk Sketchbook is also great. It lets you draw and paint on the screen like you’re using real media. This makes your dessert illustration feel real but is super convenient.
- Use vector tools like Adobe Illustrator for high-quality cake design graphics.
- Try 3D modeling software like Blender or SketchUp to see your designs in 3D.
- Explore digital painting in Krita or Corel Painter for amazing dessert illustration effects.
It’s important to find digital tools that fit your style and work. Digital tools offer endless creativity. Let your cake design and dessert illustration skills grow.
“The advantage of digital tools lies in their ability to let us experiment, refine, and push the limits of creativity in cake design and dessert illustration.”
Common Mistakes to Avoid in Cake Drawing
Creating beautiful cake drawings needs precision and detail. Even skilled artists can make common mistakes. Knowing these mistakes helps improve your cake illustrations.
Proportion Issues
Getting the proportions right is key in cake drawing. Wrong sizes or heights can make the cake look off-balance. Study reference images and practice drawing different cake shapes to get it right.
Texture Problems
Getting the cake’s texture right can be tough. Smooth fondant, fluffy buttercream, or dripping glaze all need different techniques. Pay attention to the details of each texture to make your drawing look real.
Color Balance Errors
Color is important in cake drawing to make it look vibrant. Wrong color choices or blending can make the drawing dull. Learn about color theory and practice mixing colors to get the right look for your cake drawings.
FAQ
What are the essential art supplies for cake drawing?
For cake drawing, you’ll need high-quality paper and pencils (from 2H to 6B). Also, colored pencils, markers, and erasers are key. Don’t forget specialty items like blending stumps and a kneaded eraser to improve your drawings.
How do I understand the basic cake shapes and proportions?
Start by learning about common cake styles like round, square, and tiered. Notice the height-to-width ratios for different sizes. Practice drawing these dimensions accurately to master cake proportions.
What are the key cake drawing techniques I should master?
Mastering line weight and pressure control is crucial. Also, learn shading techniques for depth and texture. Focus on rendering realistic cake textures and surfaces.
How do I draw convincing cake layers?
To draw convincing layers, focus on texture and color. Show the difference between dense and fluffy cakes. Pay attention to color and tone variations for a realistic look.
What decorative elements can I add to enhance my cake designs?
Add flowers, fruits, and edible embellishments to enhance your designs. Practice creating intricate details to elevate your illustrations.
How do I draw different birthday cake styles?
Explore various styles like traditional, themed, and modern cakes. Capture the essence of celebration and personalization in your illustrations.
What techniques should I use to depict realistic frosting and icing details?
Focus on piped designs, rosettes, and swirls for realistic frosting. Develop techniques to show texture and depth, making your illustrations appealing.
How do I incorporate wedding cake embellishments into my drawings?
Pay attention to floral decorations and lace patterns on wedding cakes. Master techniques for these details to capture the cake’s elegance and romance.
What are some common mistakes to avoid in cake drawing?
Avoid proportion issues, texture inconsistencies, and color balance errors. Learn to overcome these mistakes for accurate and appealing illustrations.
