Would you like to get better in painting? Our tutorial will help you realize the designs of birthday cakes. Three simple techniques will help your drawings to look fantastic. This is fantastic for novice artists as well as experienced ones.
Using our suggestions, you’ll design birthday cake drawings that astounds everyone. They will make any celebration especially memorable.
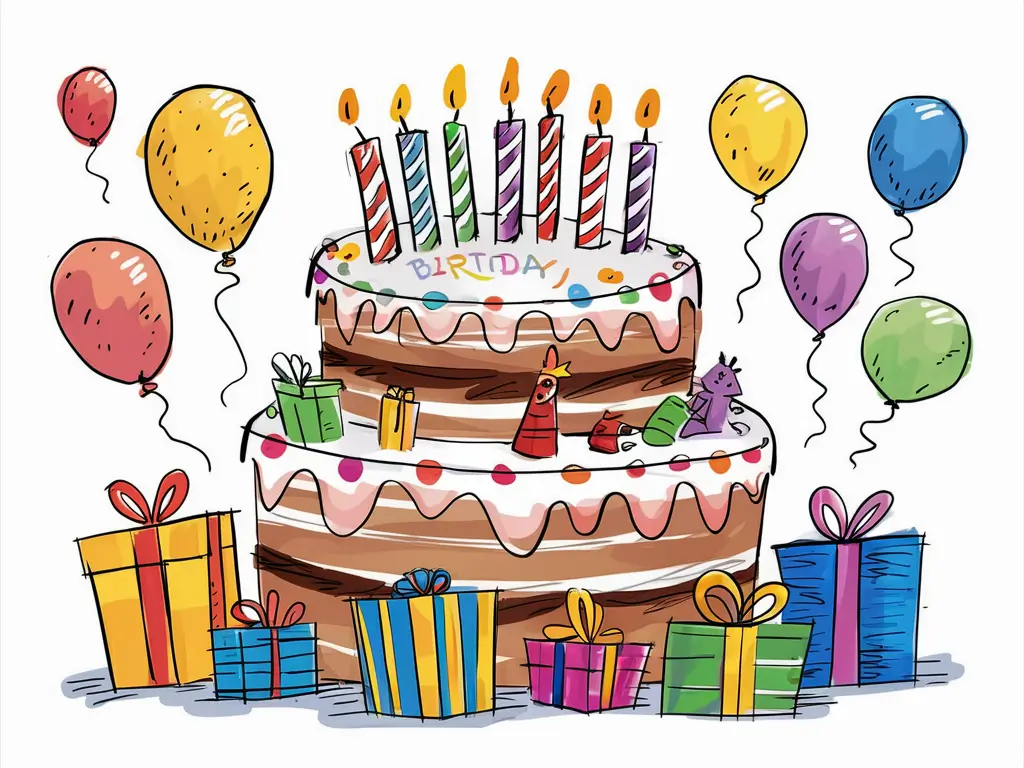
Table of Contents
Essential Art Supplies for Birthday Cake Drawing
To create amazing birthday cake sketch or cake illustration, you need the right art supplies. The perfect paper, drawing tools, and colors are key. Let’s look at what you need to make your cake art stand out.
Paper Types and Textures
The base of your art is the paper. Choose a medium-weight, smooth Bristol board or cold-press watercolor paper. These papers offer the right mix of texture and support, making your drawing pop. Try different papers to see which one works best for you.
Drawing Tools and Materials
- Soft, high-quality pencils in a range of hardness (HB, 2B, 4B)
- Erasers, both kneaded and vinyl, for precise corrections
- Blending stumps or tortillons to create smooth gradients
- Fine-tipped pens or markers for adding details and outlines
- Colored pencils or water-soluble colored pencils for vibrant hues
Color Selection Guide
Choosing the right colors is key for birthday cake sketch and cake illustration. Start with soft pastels like pale pink, baby blue, and delicate yellow. These colors capture the sweetness of a birthday cake. Then, add richer tones like deep red, royal purple, and rich chocolate brown for depth and dimension.
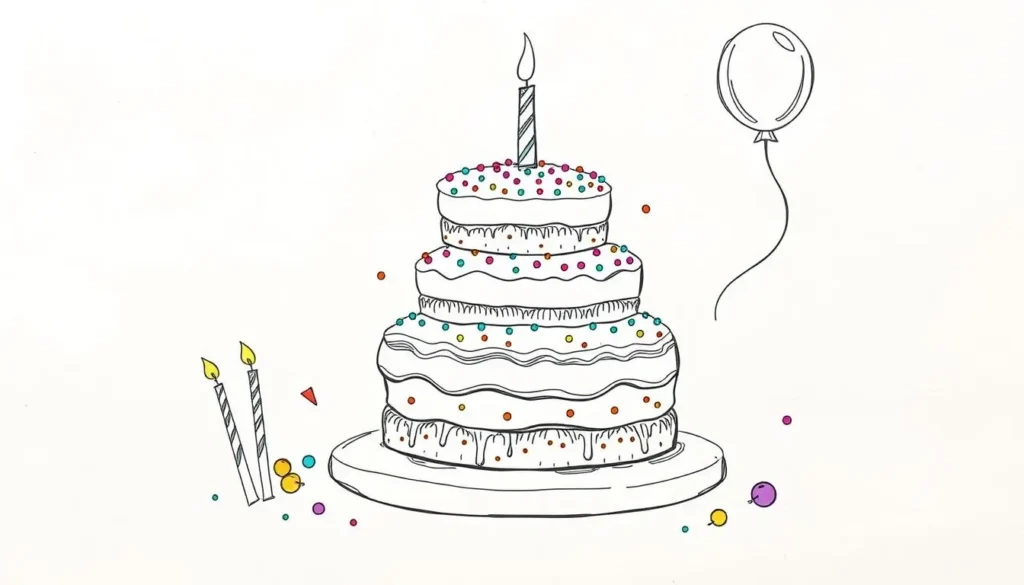
“The right art supplies can transform a simple cake drawing into a true work of art.”
Remember, the secret to great cake illustration is finding the perfect mix of materials and colors. Experiment, have fun, and let your creativity shine!
Understanding Basic Cake Shapes and Proportions
Creating stunning birthday cake drawings starts with knowing the basics of cake shapes and proportions. Learning these key principles helps you make birthday cake illustrations that look great and are realistic. They capture the essence of the dessert and show off your artistic talent.
The most common cake shapes are round, rectangular sheet cakes, and tiered cakes. Each shape has its own proportions and details. You need to think about these when drawing them.
A traditional round birthday cake is usually 1:3 in height to width. Sheet cakes are longer, with a 2:1 or 3:1 length to width ratio. These ratios help you draw the cakes accurately.
Tiered cakes need the right scale and balance. The top tier should be about two-thirds the size of the middle tier. The middle tier should be two-thirds the size of the bottom tier. This makes the cake look good and stable.
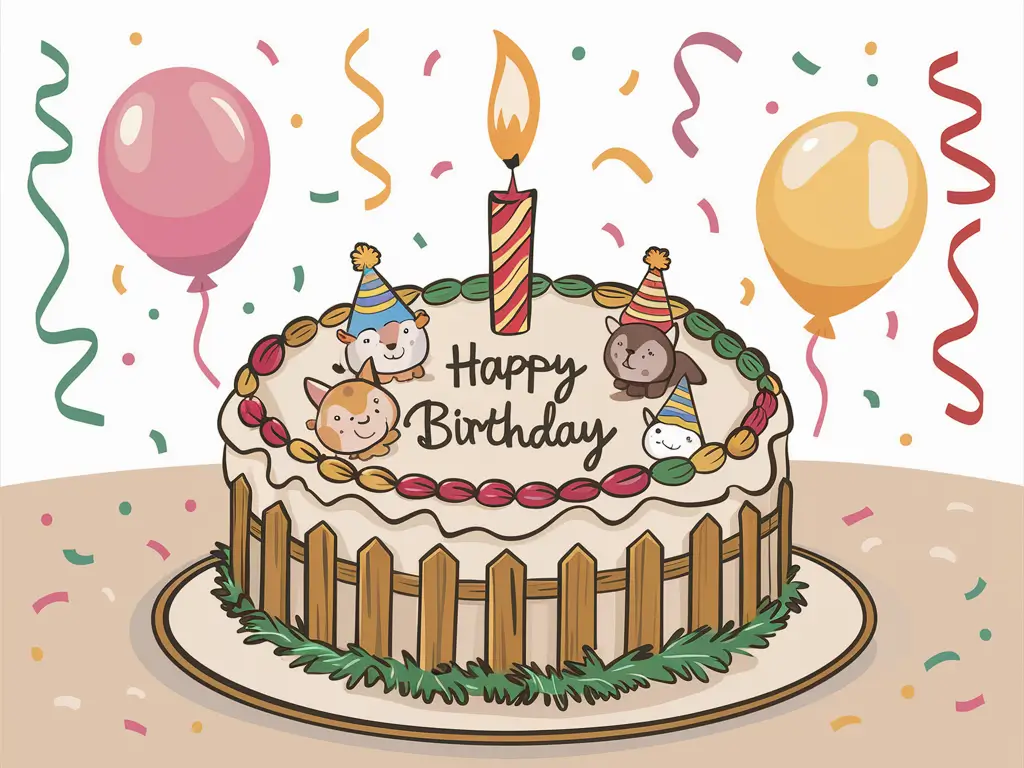
Knowing these basic shapes and proportions lets you create birthday cake drawings that are both realistic and eye-catching. Using these principles ensures your cake illustrations are visually appealing and true to life.
Birthday Cake Draw: Starting with Simple Sketches
Start your journey in birthday cake illustration with simple sketches. This guide is for both seasoned artists and beginners. It will teach you the basics to draw a delicious birthday cake on paper.
Basic Geometric Forms
Understanding basic shapes is key to a great birthday cake sketch. Learn about key shapes like circles, rectangles, and triangles. Knowing these shapes will help you build more detailed cake designs.
Layer Structure Techniques
Cakes have layers, and showing this in your sketches is important. Try overlapping shapes and subtle shading to add depth. This will make your birthday cake sketch look more real.
Frosting Detail Guidelines
Frosting details are crucial in a birthday cake illustration. Practice making smooth, flowing textures and delicate piping patterns. Pay attention to light and shadow to make your frosting look realistic.
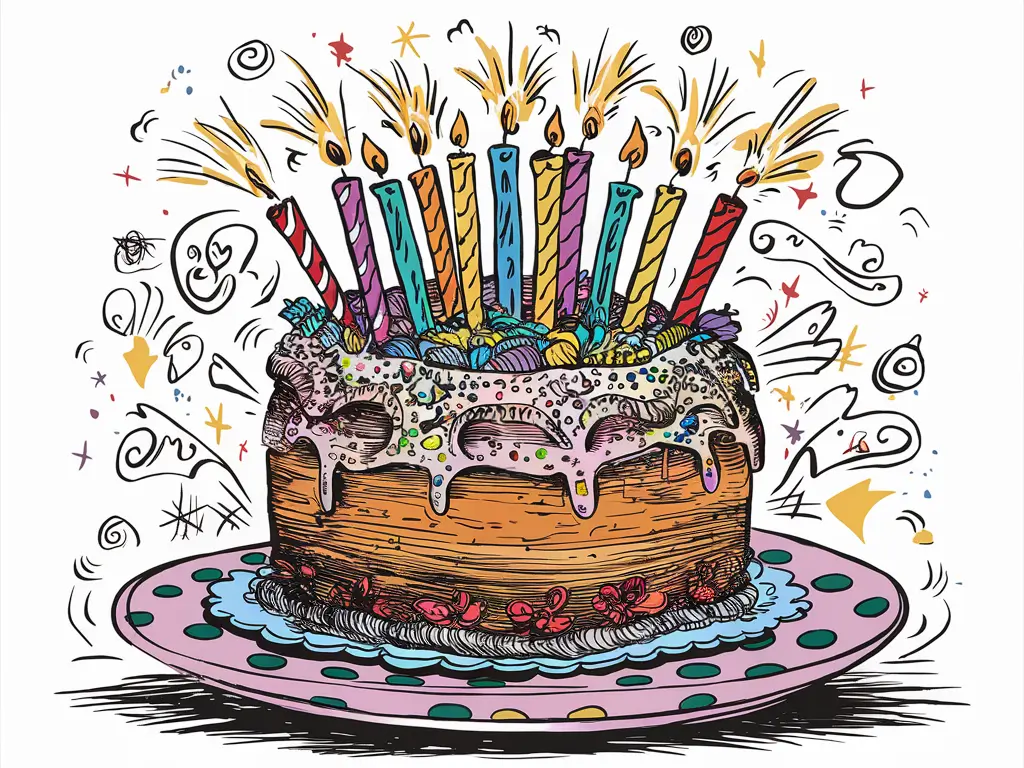
“The key to creating a captivating birthday cake sketch lies in the small, intricate details that bring the design to life.”
Mastering birthday cake drawing starts with simple sketches. Focus on the basics to improve your skills. Soon, you’ll create amazing, realistic cake illustrations that will wow everyone.
Mastering Cake Texture Techniques
To make your birthday cake drawing or cake illustration come alive, you need to get good at showing different cake textures. Each frosting type, like fondant or buttercream, has its own special challenges. We’ll look at ways to show off the details of cake surfaces and decorations, making your work look more real and interesting.
Capturing the Essence of Fondant
Fondant looks smooth and perfect, but drawing it can be hard. Use light, even strokes to make it look flawless. Try blending to get a soft, velvety feel. Make sure the cake’s edges look clean and polished.
Rendering Buttercream Textures
Buttercream is creamy and fun to draw. Mix short, textured strokes with blending to show its fluffy look. Add depth with shadows and highlights to make it pop.
Bringing Decorative Elements to Life
Decorations like piping and fondant flowers are a challenge. Practice drawing their fine details and shapes. Use different line weights and shading to make them look real.
Learning about cake textures will help you make amazing birthday cake drawings and cake illustrations. Remember, it takes time and practice. The more you try, the better you’ll get.
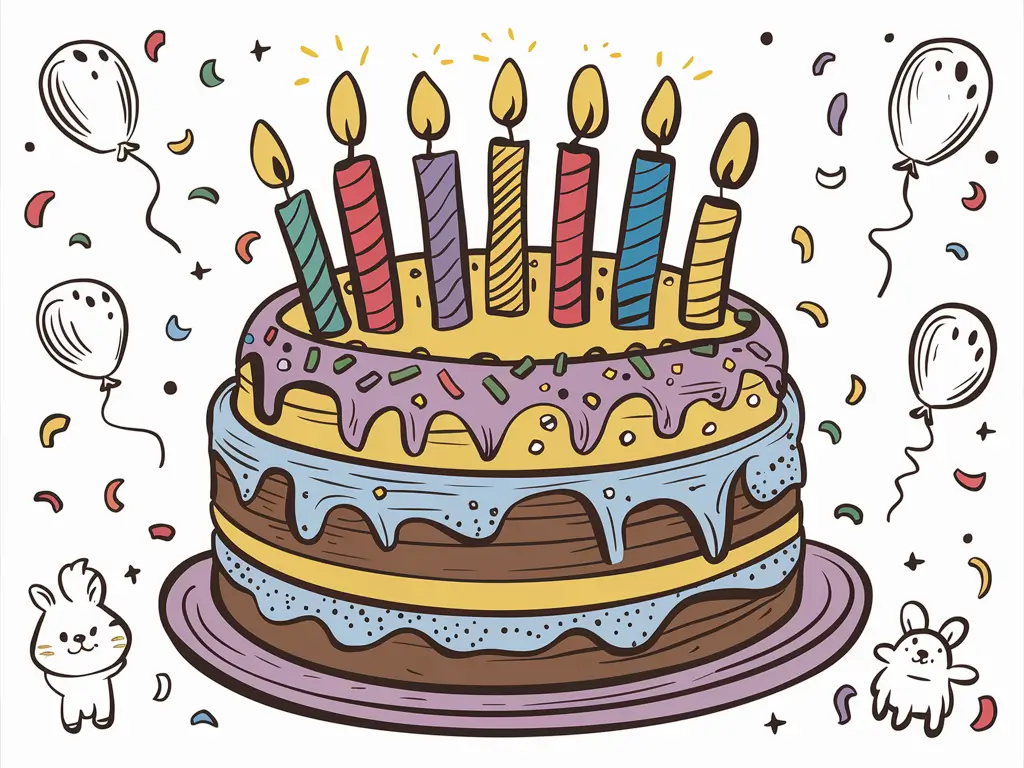
Adding Decorative Elements and Details
Make your birthday cake drawings pop with decorative elements and details. Add whimsical candles, playful toppers, elegant frosting patterns, and personalized messages. These touches can turn a simple drawing into a stunning masterpiece.
Candles and Toppers
Candles and toppers bring fun and celebration to your cake designs. Try different candle shapes and sizes for a lively look. Use fondant figurines, sprinkles, or tiny birthday props as toppers to make your cake unique.
Frosting Patterns
Learn to create intricate frosting patterns to enhance your birthday cake sketch or cake illustration. Try piped designs, textured swirls, and more. These patterns add depth and interest, and can tie your drawing’s theme together.
Birthday Messages
Make your cake special with meaningful birthday messages. A simple “Happy Birthday” or a detailed calligraphic text adds a personal touch. These messages make your illustrations heartfelt and unique.
Mastering these decorative elements can turn your birthday cake sketches and cake illustrations into stunning art. Experiment with techniques and let your creativity flow. This way, you’ll create cakes that are both beautiful and meaningful.
Creating Depth and Dimension
Creating stunning birthday cake illustrations is all about depth and dimension. You need to know how to use shading, highlighting, and perspective. These skills will make your birthday cake drawing and cake illustration stand out.
Shading for Depth
Shading is key to making your cakes look real and three-dimensional. Use shadows and highlights to add depth. First, find the main light sources in your scene.
Highlighting for Dimension
Highlights add even more depth to your cake illustrations. Focus on areas where light hits, like edges and frosting. Try different highlight types to get the look you want.
Mastering Perspective
Knowing perspective is crucial for depth in your birthday cake drawings. Pay attention to the cake’s shape and angles. This ensures your drawing looks good and complete.
| Technique | Description | Example |
| One-Point Perspective | Cakes viewed head-on, with all lines converging at a single vanishing point. | |
| Two-Point Perspective | Cakes viewed at an angle, with lines converging at two vanishing points. | |
| Three-Point Perspective | Cakes viewed from above or below, with lines converging at three vanishing points. |
With these techniques, your birthday cake drawings and cake illustrations will wow everyone. They’ll be full of depth, dimension, and realism.
Color Theory for Cake Illustrations
Making amazing birthday cake sketches and cake illustrations needs color theory knowledge. Learning about color selection, shading, and visual appeal can take your cake art to the next level.
Choosing the Right Color Palette
First, pick a color palette that fits your cake’s design. Refer to a color wheel to identify colors that complement each other beautifully. Try different colors, shades, and tones to get the right mix.
Shading and Highlighting
- Use shading to add depth to your cake art. Try gradients, cross-hatching, and blending for realistic shadows and highlights.
- Make sure your shading matches the light source’s direction and intensity for a believable look.
Creating Visual Interest
Add interest to your cake art with textures, patterns, and decorations. Mix contrasting colors, textures, and shapes to catch the viewer’s eye and make your art engaging.
| Color Palette Inspiration | Shading Techniques | Decorative Elements |
| Pastel hues for a soft, dreamy effectBold, vibrant colors for a modern, eye-catching designEarthy tones for a natural, rustic vibe | Gradients for smooth transitionsCross-hatching for textural interestSoft blending for realistic shadows | Intricate piping patternsSprinkles, candies, and other decorative toppingsElegant calligraphy for personalized messages |
Learning color theory basics will help you make stunning birthday cake sketches and cake illustrations. Be creative, have fun, and let your art show your personality.
Common Mistakes to Avoid in Cake Drawing
Creating a captivating birthday cake illustration can be rewarding. But, it’s key to avoid common mistakes that can ruin your vision. As you start your birthday cake drawing or cake illustration journey, watch out for these frequent errors and learn how to fix them.
One big mistake is ignoring the cake’s proper proportions. It’s vital to get the cake’s size right for a realistic look. Make sure the height, width, and layers are in balance to avoid an unbalanced design.
Capturing the correct perspective is another challenge. Getting perspective right can make your birthday cake drawing or cake illustration look more real. Try different views and use vanishing points to add depth and dimension to your cake.
Finally, don’t overlook the small details that make a cake look great. From the frosting’s texture to the decorations’ placement, these details are crucial. Spend time on the cake’s surface and decorations to make your illustration stand out.
By avoiding these common mistakes and finding ways to fix them, you’ll improve your birthday cake drawing or cake illustration skills. With practice and attention to detail, you can create stunning, realistic, and captivating cake illustrations. These will surely impress and delight your audience.
Digital vs Traditional Cake Drawing Methods
As an artist, you can choose between digital and traditional methods for birthday cake illustrations. Each has its own benefits and suits different tastes and skills. Let’s look at digital tools and traditional media to help you pick the best for your art.
Software Tools and Features
The digital world offers many software tools for drawing birthday cakes. Adobe Photoshop, Illustrator, and Procreate are great for making detailed birthday cake sketches and colorful cake illustrations. These programs have layers, brushes, and blending modes for experimenting with textures and colors.
Digital drawing tablets and styluses have changed how artists draw cakes. They make drawing smooth and easy, like traditional media. With these tools, you can draw clean lines, precise shapes, and smooth gradients.
Traditional Media Techniques
If you like working with your hands, traditional media is a great choice. Pencils, markers, watercolors, and acrylics let you play with textures and blending. Traditional art adds a special touch to your birthday cake sketches and cake illustrations.
Choosing a sketchpad and pencils or a canvas and paints gives you a real, personal touch. Mixing colors, applying washes, and layering can be calming and rewarding. It leads to unique cake illustrations that show off your talent.
| Digital Cake Drawing | Traditional Cake Drawing |
| Versatile software toolsSeamless layers and blendingPrecise control with digital tabletsEfficient editing and revision | Hands-on, tactile experienceUnique textures and brushstrokesPersonalized, one-of-a-kind resultsMeditative, creative process |
Choosing between digital and traditional cake drawing depends on your style and what you want to achieve. Try both to see which sparks your creativity and helps you make amazing birthday cake illustrations.
Advanced Decoration Techniques
Take your birthday cake drawing to the next level with advanced techniques. Learn to make intricate sugar flowers, captivating fondant designs, and complex piping patterns. These skills will help you create stunning, professional-looking birthday cake illustrations.
Crafting Sugar Flowers
Sugar flowers are a classic choice for birthday cakes. Learn to shape delicate petals, add realistic veining, and arrange flowers for a natural look. Try different blooms like roses and sunflowers to add depth to your cake illustration.
Fondant Flair
Fondant offers endless decoration options for your birthday cake drawing. Discover how to roll, cut, and shape fondant for ribbons, lace, and three-dimensional designs. Play with textures to add interest to your cake art.
Mastering Piping Techniques
Enhance your cake illustration with expert piping. Learn to make borders, scrollwork, and patterns with various tips and techniques. Experiment with piping consistencies and methods for a unique look.
Using these advanced techniques in your birthday cake drawing will make your artwork stand out.It’s sure to impress and inspire everyone who lays eyes on it.
Personalizing Your Cake Illustrations
Make your birthday cake drawings special by adding personal touches. Let your creativity shine and turn simple sketches into stunning art. This art should show off your style and personality.
Theme Integration
Add themes that mean a lot to you to your cake illustrations. It could be a hobby, a favorite movie, or a special event. Using colors, patterns, and symbols can make your design more interesting and meaningful.
Custom Design Elements
Make your birthday cake sketch or cake illustration unique with custom elements. Try intricate piping or hand-drawn details. You can also add calligraphy, edible flowers, or personalized toppers to make it stand out.
Personalizing your cake illustrations can take them to new levels. It lets you express your creativity and style. Let your cakes be a canvas for your imagination.
Photographing Your Cake Drawings
Photography is key to showing off your birthday cake drawings. It’s important for building a portfolio, sharing on social media, or showing to clients. Learning how to take great photos of your cake illustrations can really help.
Here are some tips to get your cake drawings looking their best:
- Lighting is Key: Good lighting makes your cake illustrations pop. Try using natural light, soft diffused light, or lamps to add depth and color.
- Camera Settings Matter: Adjust your camera settings to capture every detail. Play with aperture, shutter speed, and ISO to get the perfect shot.
- Composition and Angles: Try various angles and arrangements to find the most captivating composition. Close-ups, bird’s-eye views, or creative angles can make your artwork stand out.
- Backgrounds and Props: Choose backgrounds and props that match your cake drawings. A plain backdrop, textured surface, or related objects can make your presentation look professional.
- Editing and Post-processing: Use photo editing software to refine your images. Adjust colors and enhance the visual impact of your cake drawings. Even small edits can make a big difference.
By mastering cake illustration photography, you can show off your birthday cake drawings in the best way. This will showcase your talent and inspire others.
| Lighting Technique | Recommended Settings | Ideal for |
| Natural Daylight | Aperture: f/8 – f/11, Shutter Speed: 1/100s – 1/250s, ISO: 100 – 400 | Bright, even lighting, showcasing fine details |
| Soft Diffused Lighting | Aperture: f/5.6 – f/8, Shutter Speed: 1/60s – 1/125s, ISO: 400 – 800 | Gentle, flattering light, highlighting textures and shadows |
| Strategic Lamp Placement | Aperture: f/5.6 – f/8, Shutter Speed: 1/60s – 1/125s, ISO: 400 – 800 | Dramatic lighting, creating depth and emphasizing specific elements |
“Thoughtful photography can capture the essence of your cake drawings, enhancing your artwork and highlighting your talent.”
Conclusion
This guide has shown you the joy of drawing birthday cakes. You’ve learned about the tools you need and how to draw cakes correctly. Now, you can make amazing birthday cake drawings that show the joy of celebration.
You’ve also learned how to add textures, decorations, and depth to your drawings. This makes your birthday cake illustrations come alive with color and detail. Using color theory helps you pick the right colors and add shading to make your drawings pop.
Improving your cake drawing skills takes time and practice. Keep trying new things and look for inspiration everywhere. With hard work and attention to detail, your drawings will get better and bring happiness to others. Enjoy the journey and have fun with it!
FAQ
What are the essential art supplies for birthday cake drawing?
For birthday cake drawing, you’ll need different papers and textures. Also, drawing tools like pencils, pens, and markers are key. Don’t forget a wide range of colors to make your artwork pop.
How do I understand basic cake shapes and proportions?
To draw cakes well, learn about their shapes and sizes. Study common cake shapes and how to layer them. This helps make your cakes look real and appealing.
How can I start with simple sketches for birthday cake drawing?
Start with simple sketches. Use basic shapes and learn to layer them. Add frosting details last to complete your sketch.
What texture techniques can I use to master cake drawing?
Practice drawing different cake textures. Show off various frosting styles and cake surfaces. This adds depth and realism to your drawings.
How can I add decorative elements and details to my cake illustrations?
Add candles, toppers, and intricate frosting patterns to your cakes. Personalized birthday messages can also make your drawings special.
How do I create depth and dimension in my cake illustrations?
Use shading, highlighting, and perspective to make your cakes look three-dimensional. These techniques add depth and visual interest.
How can I apply color theory to my cake illustrations?
Use color theory to pick the right colors for your cakes. Learn about shading and highlighting. This makes your drawings visually appealing.
What are some common mistakes to avoid in cake drawing?
Watch out for common mistakes like wrong proportions and poor perspective. Avoid these to improve your cake drawings.
What are the differences between digital and traditional cake drawing methods?
Digital and traditional methods have their own strengths. Digital tools offer ease and precision, while traditional media provides a hands-on experience. Choose what suits you best.
How can I incorporate advanced decoration techniques into my cake illustrations?
Learn to draw sugar flowers, fondant designs, and complex piping patterns. These techniques will make your cakes look stunning and professional.
How can I personalize my cake illustrations?
Make your cakes unique by adding personal touches. Use specific themes and custom designs to create memorable artwork.
What are the best practices for photographing my cake drawings?
To showcase your cakes well, learn about lighting and camera settings. Use good composition to highlight your artwork. This is important for portfolios and presentations.
