Do you dream of creating fantastic cake illustrations? For you is this guide. Here are three simple strategies to help you sketch cakes. Both pros and beginners would find these methods ideal. Your cake designs will wow your friends and family.
Cake Illustration: is a creative approach to highlight your artistic or baking ability. Learning to sketch cakes opens a universe of possibilities. Simple birthday cakes to elegant, multi-tiered designs can all be created by you.
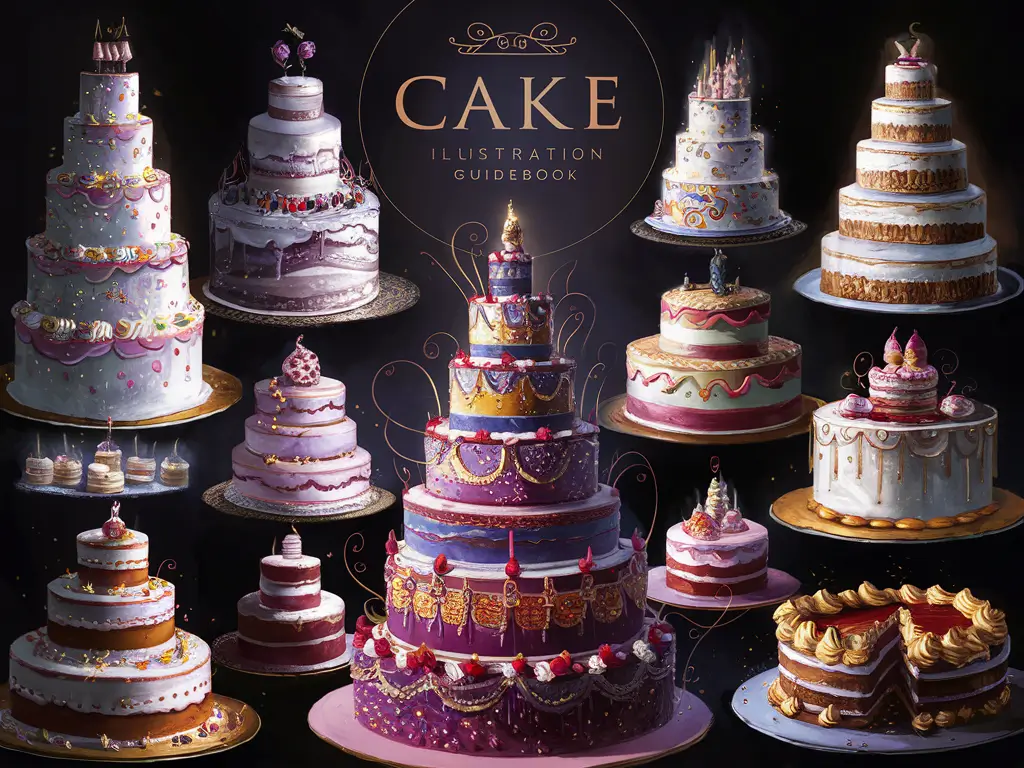
Table of Contents
Understanding the Fundamentals of Cake Illustration:
Creating amazing cake drawings starts with learning the basics. We’ll cover the basic shapes, the tools you need, and how to use perspective. These are key for making stunning birthday cake drawings and more.
Basic Shapes and Forms
The heart of a great cake drawing is its shapes and forms. Learn the basic geometric shapes like circles, rectangles, and triangles. These shapes help build the cake’s tiers and parts. Knowing these shapes well is the first step to your artistic journey.
Essential Drawing Materials
Having the right tools is crucial for capturing a cake drawing‘s details and textures. Use a variety of pencils for shading and lines. Also, have good erasers and blending tools to perfect your sketches. Try different media like colored pencils or watercolors to add color and life to your birthday cake drawings.
Understanding Perspective in Cake Sketches
Using perspective in your cake drawings adds depth and realism. Notice how the cake’s parts seem to move back or forward. Try different views like eye-level or high-angle to find the most engaging way to show your cake illustrations.
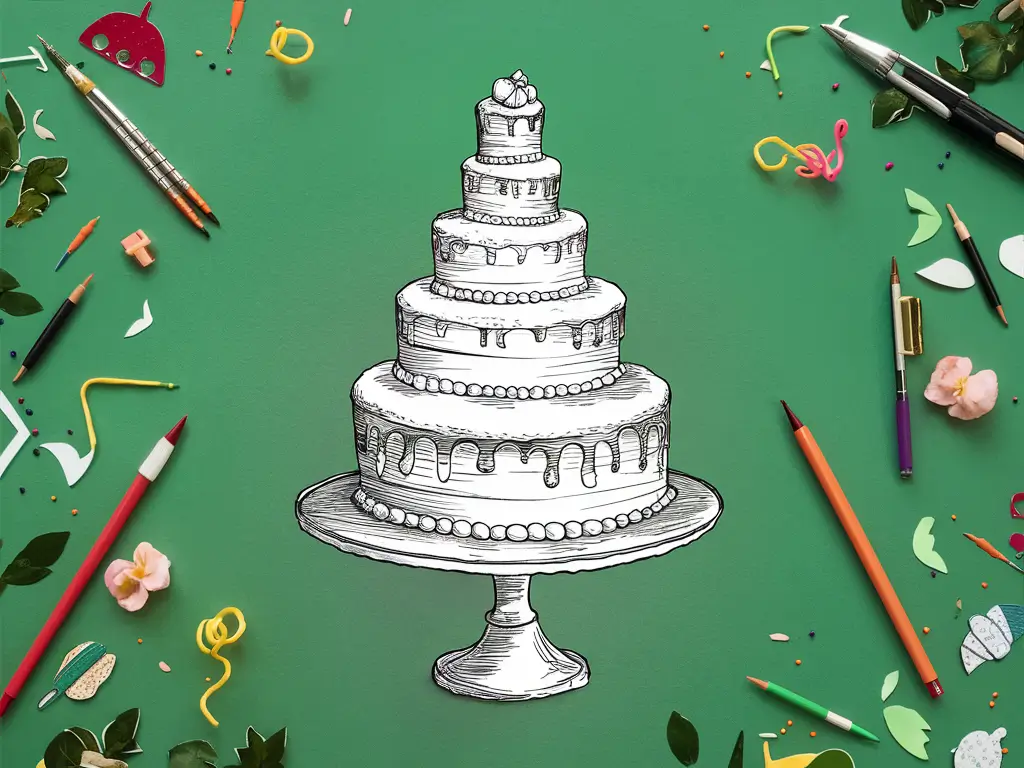
“Mastering the fundamentals of cake drawing is the key to unlocking your artistic potential and creating truly captivating illustrations.”
Getting Started with Simple Birthday Cake Illustration:
Starting your journey with simple birthday cake sketches is exciting. It’s for anyone who wants to express their creativity or add a personal touch to celebrations. We’ll show you the first steps to confidently begin your cake illustration adventure.
Gather Your Supplies
First, make sure you have the right tools. You’ll need a sketchpad, pencils (HB to 6B), an eraser, and a sharpener. These basics will help you find your drawing style.
Start with Simple Shapes
Learning basic shapes is key. Practice drawing circles, rectangles, and triangles. These shapes are the foundation of a cake. Play with sizes and proportions to master the cake’s silhouette.
Add Layers and Tiers
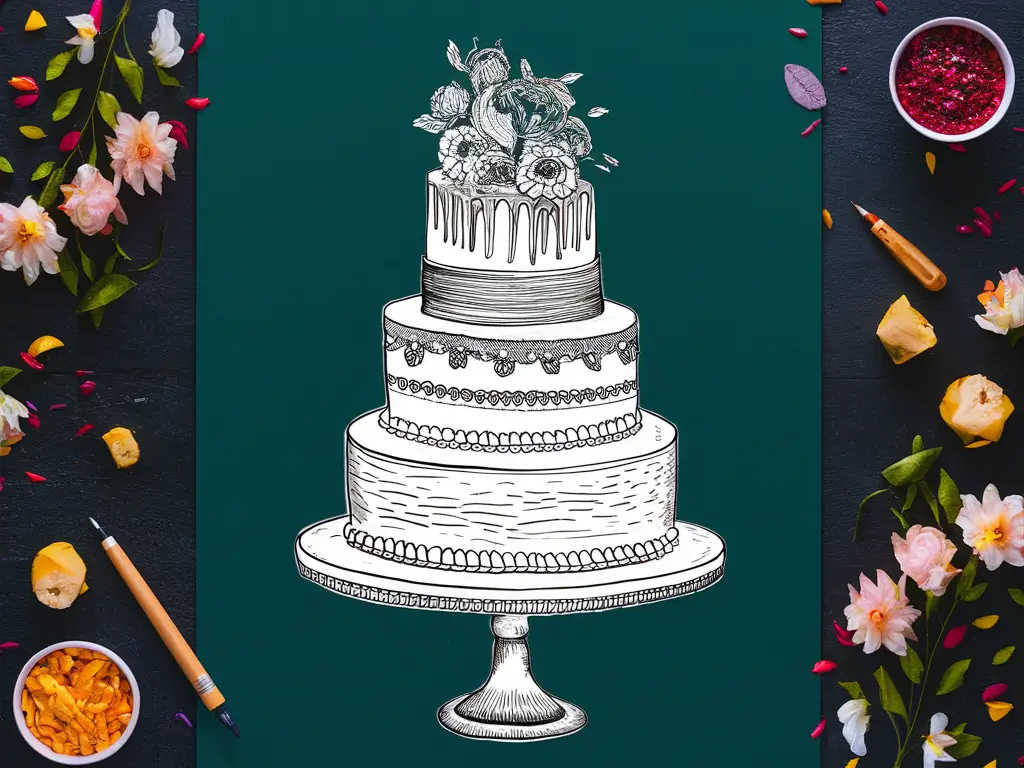
After mastering basic shapes, stack them to create layers. Try different tier sizes for a realistic look. Focus on proportions for a polished finish.
Incorporate Decorative Elements
Add decorations to make your cake sketches pop. Try simple patterns, flowers, or swirls. Make sure these elements are balanced and in scale.
With these basics, you’re ready to create amazing birthday cake sketches. Enjoy the creative journey and bring your designs to life.
Essential Tools and Materials for Cake Illustration:
To make a perfect cake illustration, you need the right tools and materials. Whether you’re an experienced artist or new to cake drawing, knowing the basics is key. It helps you create amazing designs with ease.
Choosing the Right Paper
The base of your cake illustration is the paper. Choose a heavy, smooth paper that can handle different drawing methods. Strathmore and Canson are top brands for quality papers for cake illustrations.
Selecting Drawing Implements
- Pencils: Begin with a set of top-notch drawing pencils, from 2H (hard) to 6B (soft). They help you create various line weights and shading.
- Pens: Use fine-tipped pens, like Micron or Uni-ball, for adding detailed lines and outlines to your cake illustrations.
- Erasers: Have a kneaded eraser and a white plastic eraser ready. They’re for making small corrections and adding highlights.
Additional Art Supplies
To enhance your cake drawing, consider these art supplies:
- Markers: Alcohol-based markers, like Copic or Prismacolor, bring vibrant colors and smooth blending to your cake illustrations.
- Colored Pencils: Invest in high-quality colored pencils, such as Faber-Castell or Prismacolor. They allow for precise color application and layering.
- Blending Stumps: These tools, made of paper wrapped around a core, help with seamless blending and shading for a professional look.
Remember, the secret to great cake illustration is to try out different materials. Find what works best for your style and preferences.
Mastering Basic Cake Shapes and Proportions
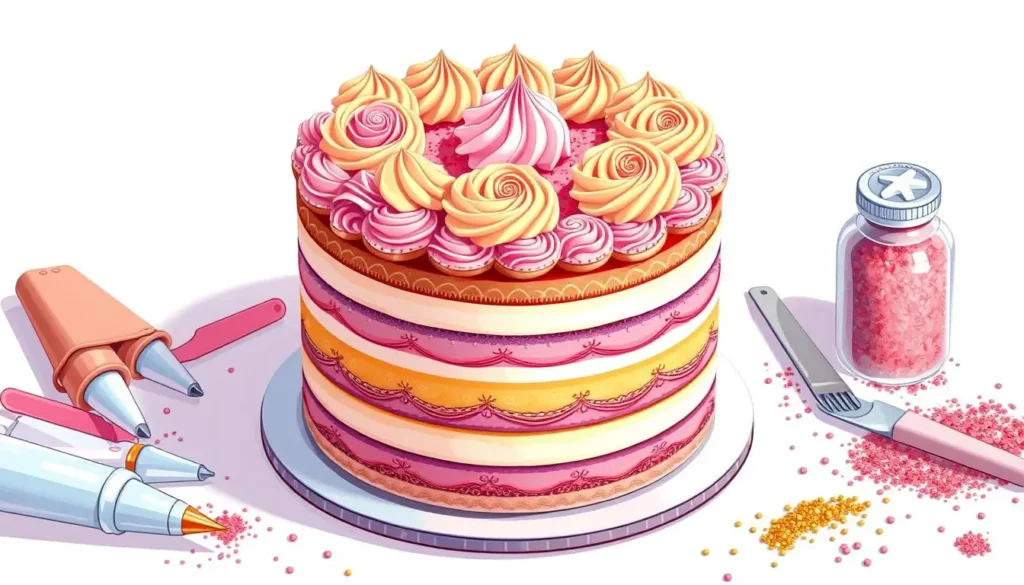
Creating amazing cake drawings begins with knowing the basic shapes and sizes of cakes. As a budding cake artist, it’s key to grasp these basics. This will help you make illustrations that truly show off your cakes.
Start by getting to know the most common cake shapes. These include round, square, and rectangular cakes. Notice how each shape looks different, especially how they get smaller towards the top. It’s also important to get the height and width right to make your drawings look real.
- Learn about round cakes, their smooth curves, and even sides.
- Discover the sharp corners and straight sides of square and rectangular cakes.
- See how the shape tapers to add depth to your drawings.
Also, get to know the parts of a cake like the base, layers, and frosting. Knowing how these parts fit together helps you make cake drawings that look real and appealing.
| Cake Shape | Typical Dimensions | Proportional Characteristics |
| Round | 6-inch to 10-inch diameter | Even height-to-width ratio, gentle curves |
| Square | 6-inch to 8-inch sides | Straight edges, balanced proportions |
| Rectangular | 8-inch to 12-inch length, 4-inch to 6-inch width | Elongated shape, tapering towards the top |
By learning the basics of cake shapes and sizes, you’ll be ready to make birthday cake drawings and other cake illustrations. These will impress your viewers and show off your talent.
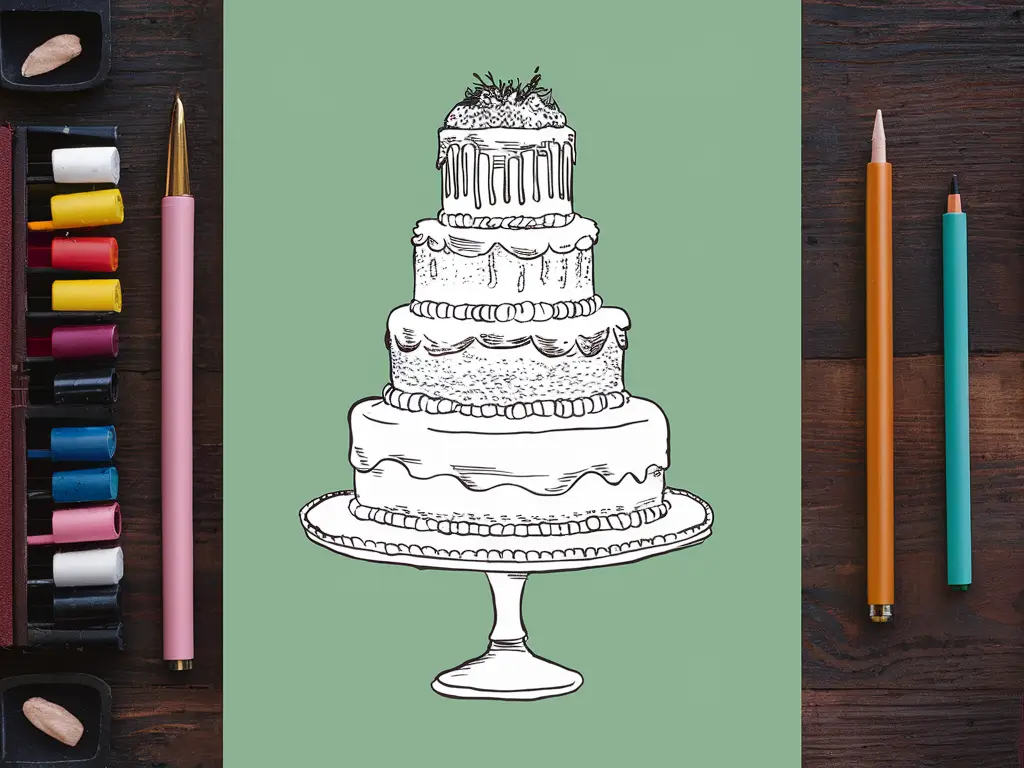
Creating Texture and Depth in Your Cake Drawings
To make your cake drawings stand out, focus on texture and depth. Use shading, add details, and capture frosting effects. This will turn your sketches into stunning works that grab everyone’s attention.
Shading Techniques
Shading is key to adding depth to your cake illustration. Try cross-hatching, stippling, and graduated shading to create shadows and highlights. Observe the light’s direction and intensity to make your cake look three-dimensional.
Adding Details and Decorations
The details are what make a birthday cake sketch special. Add patterns, piping, and decorations to make your drawings interesting. Focus on the small details of frosting, fondant, and other decorations to make your work look real.
Creating Realistic Frosting Effects
Getting the frosting right is crucial in a cake illustration. Use shading and fine lines to show the frosting’s texture, whether it’s buttercream or ganache. Notice how light affects the frosting, creating highlights and shadows that make your drawing look real.
Mastering these techniques will improve your cake illustration and birthday cake sketch skills. Remember, practice and paying attention to detail are essential for achieving great texture and depth in your cake art.
Step-by-Step Birthday Cake Drawing Guide
Are you ready to learn how to draw a stunning birthday cake? This guide will show you how to create your own birthday cake drawing. You can use it for cards, invitations, or as a piece of art.
- Start by sketching the basic cake shape. Begin with a simple rectangle or oval to form the base of the cake.
- Add the layers of the cake by drawing a series of smaller rectangles or ovals on top of the base. This will create the distinct tiers of the birthday cake.
- Outline the shape of the cake using a pencil, ensuring the proportions and symmetry are balanced.
- Draw the frosting on top of the cake layers. Use smooth, curved lines to create the illusion of a creamy, frosted surface.
- Incorporate decorative elements, such as birthday candles, sprinkles, or piped frosting designs, to add visual interest to your birthday cake drawing.
- Add any additional details, such as a cake stand or a background, to complete your masterpiece.
Remember to take your time and experiment with different techniques to achieve your desired draw a birthday cake result. With practice, you’ll be able to create stunning birthday cake illustrations that capture the festive spirit.
“Drawing is not just a way of seeing the world, but a way of engaging with it.”
Unleash your creativity and bring your birthday cake ideas to life through this step-by-step guide. Happy drawing!
Advanced Techniques for Cake Illustration
Now that you know the basics of cake drawing, it’s time to learn more advanced techniques. These will make your cake illustrations stand out. You’ll learn about using bright colors and digital tools to create amazing cake sketches.
Working with Colors
Using bold colors can turn a simple cake drawing into a stunning piece of art. Try different mediums like colored pencils, watercolors, or digital painting. This will help you bring your cake illustrations to life.
Learn how to mix and layer colors for depth and texture. Use complementary colors and gradients to make your cakes look amazing.
Digital Enhancement Methods
In today’s world, cake illustrators have many digital tools to enhance their work. Get familiar with Adobe Photoshop or Procreate. Learn to use layers, adjustment tools, and digital brushes to improve your cake sketches.
These tools can add details and enhance your cake’s look. This will make your illustrations look professional and polished.
Professional Finishing Touches
The last steps in creating a top-notch cake illustration are all about the details. Learn to add realistic textures like fondant or buttercream. Add decorations like piped icing or sprinkles to make your cake drawing come alive.
Think about how you’ll present your work. From framing to photography, make sure your illustrations are ready to be shown off.
“Mastering advanced cake illustration techniques is the key to taking your artwork to the next level. With the right tools and approach, you can create stunning, professional-quality cake drawings that will impress and inspire.”
Common Mistakes to Avoid in Cake Drawing
As you start your journey in cake art, knowing common mistakes is key. Spotting and fixing these errors early can boost your skills. This way, you can make stunning cake designs. Let’s look at some common mistakes to avoid in cake drawing.
- Disproportionate Shapes: Getting the size of a cake’s parts wrong is a big mistake. Make sure your cake looks balanced and real.
- Lack of Perspective: It’s important to show a cake’s depth in your drawings. Use perspective and other techniques to make your cakes look real.
- Flat Textures: Cakes need texture to look good. Use shading and other methods to add depth to your cake’s look.
- Inconsistent Color Palette: A good color scheme is vital for cake drawings and birthday cake sketches. Pick colors that work well together.
- Lack of Attention to Details: Details are what make a cake drawing stand out. Focus on the small things to improve your cake drawing.
By watching out for these mistakes and working to improve, you can get better at cake drawing. You’ll create amazing, realistic cake illustrations.
“The key to creating a successful cake illustration is to constantly observe, practice, and refine your technique. With dedication and a keen eye for detail, you can master the art of cake drawing and bring your cake designs to life on paper.”
Adding Decorative Elements to Your Cake Sketches
As a cake illustrator, adding intricate details can make your sketches pop. Delicate flowers and mesmerizing patterns can turn a simple cake into a masterpiece. We’ll look at how to drawing flowers and patterns and creating realistic textures to enhance your cake illustration skills.
Drawing Flowers and Patterns
Flowers add elegance to any birthday cake drawing. You can choose from realistic blooms or whimsical designs. Start with basic shapes like roses and lilies, focusing on the details.
Patterns can also enhance your cake illustrations. Try simple designs and then move to more complex ones. Use patterns in the background or on the cake for a stunning effect.
Creating Realistic Textures
Adding textures like fondant or buttercream makes your cake illustration more realistic. Use shading techniques to capture the look of different textures. Focus on light and shadow to add depth.
Mastering decorative elements in your cake sketches will make your cake illustrations stand out. So, get your tools ready and explore the world of cake decoration through your art.
Incorporating Color Theory in Cake Illustrations
Understanding color theory can make your cake illustrations stand out. By learning about color harmony and composition, you can make your cake illustrations look amazing and make people hungry.
The color wheel is a key part of color theory. Knowing primary, secondary, and tertiary colors lets you try different cake drawing color schemes. This helps you get the mood and look you want.
- Analogous colors: Colors next to each other on the color wheel, such as blue, green, and yellow, create a soothing and cohesive palette.
- Complementary colors: Colors opposite each other on the wheel, like red and green or blue and orange, add a vibrant contrast to your cake illustrations.
- Monochromatic colors: Shades, tints, and tones of a single color can result in a sophisticated and elegant cake drawing.
Color theory also helps with depth, texture, and highlights in your cake drawings. Knowing about light and shadow lets you add realistic details. This makes your cakes look real and tempting.
| Color Scheme | Description | Example Cake Illustration |
| Analogous | Colors next to each other on the color wheel, creating a harmonious and soothing palette. | |
| Complementary | Colors opposite each other on the color wheel, resulting in a vibrant and eye-catching contrast. | |
| Monochromatic | Shades, tints, and tones of a single color, conveying a sophisticated and elegant aesthetic. |
Using color theory in your cake drawing makes your work more engaging. It shows off your talent and can make people feel something when they see your art.
Digital Tools for Enhanced Cake Drawings
Digital tools have changed the game in cake illustration. They let artists reach new creative heights. Whether you’re experienced or just starting, digital tools can make your cake drawings better.
Software Recommendations
Choosing the right software is key for digital cake illustration. Here are some top picks to boost your cake illustration and birthday cake sketch skills:
- Adobe Photoshop: A top choice for digital art and photo editing, Photoshop has many tools for amazing cake illustrations.
- Procreate: Made for the iPad, Procreate offers a natural drawing experience. It’s great for capturing cake designs.
- Clip Studio Paint: This software is for all digital artists, including cake illustrators. It has great drawing tools and layer management.
Digital Drawing Tips
Switching to digital cake drawing can be exciting but needs some getting used to. Here are tips to help you in your digital cake illustration journey:
- Try out different brushes and textures for realistic cake looks and decorations.
- Use layers to build your birthday cake sketch step by step. This makes it easy to make changes.
- Take advantage of digital tools like resizing and duplicating to make your work easier.
- Learn digital painting tricks like blending and color overlays to add depth to your drawings.
Using these digital tools and techniques can open up new creative possibilities. It can also take your cake illustration and birthday cake sketch skills to the next level.
Developing Your Unique Cake Illustration Style
Creating a unique cake illustration style is crucial to stand out. As you explore cake drawing, don’t hesitate to experiment and find your artistic voice. By mixing technical skills with creativity, you can make a style that’s uniquely yours.
Begin by learning various cake drawing techniques. Look at how experts capture frosting textures, cake curves, and decoration details. Use their methods as inspiration, but add your own twist.
Try different media like watercolors and pencil sketches. Experiment with different views, from bird’s-eye to close-ups. Add personal touches like favorite flavors or colors to make your drawings unique.
Don’t be afraid to try new things as you develop your style. Challenge yourself with new techniques and subjects. This exploration will help you create a style that’s truly yours.
The journey to find your unique style is ongoing. Enjoy the highs and learn from the lows. With each drawing, you’ll get better and your work will show your unique vision.
“The key to developing a unique cake illustration style is to embrace your individuality and let your creative passion shine through.”
| Technique | Description | Skill Level |
| Watercolor Painting | Explore the fluid and expressive nature of watercolor to capture the softness of cake textures and the vibrancy of decorations. | Intermediate |
| Colored Pencil Drawing | Utilize the precision of colored pencils to create detailed, hyper-realistic cake illustrations with a distinct personal touch. | Beginner |
| Digital Illustration | Harness the power of digital tools to experiment with layers, textures, and special effects for a unique, contemporary cake illustration style. | Advanced |
Professional Tips for Portfolio-Ready Cake Drawings
Creating stunning cake illustrations is just the start. The next step is to present your work in a professional and eye-catching way. By mastering portfolio presentation and photography, you can showcase your talents to potential clients or employers.
Presentation Techniques
Start with the layout and organization of your portfolio. Arrange your best cake drawings in a way that looks good and shows off your skills. Use high-quality paper and try out creative framing to add a touch of class.
Photography Tips
Getting great photos of your cake drawings is key. Invest in good lighting and play with angles to show off the details. Make sure your photos are sharp, balanced, and true to the colors of your illustrations.
Also, think about adding lifestyle shots. Show your cake drawings in real-world settings, like on a table or with baked goods. This makes your work feel more real and relatable.
FAQ
What are the basic shapes and forms I should understand for cake drawing?
To draw cakes well, you need to know the basic shapes. These include circles, rectangles, and cylinders. Learning these shapes helps you draw cakes that look real and right-sized.
What drawing materials do I need to get started with cake sketching?
For cake sketching, you’ll need pencils (2H to 6B), an eraser, a ruler, and good paper or a sketchbook. You might also want colored pencils, pens, or markers for more color and detail.
How do I create a simple birthday cake sketch?
To draw a basic birthday cake, start with a rectangle or oval for the cake body. Add the top tiers and decorations like frosting and sprinkles. Don’t forget candles or a message. Make sure everything looks right-sized and in the right place.
What are some essential techniques for adding texture and depth to cake drawings?
To add texture and depth, learn shading techniques like hatching and blending. Also, focus on the details of decorations, like frosting patterns. This makes your cakes look more real.
How can I avoid common mistakes when drawing cakes?
Avoid mistakes like wrong sizes and bad perspective. Practice drawing cakes from different angles. Use real cakes as references to make your drawings better.
How do I develop my unique cake illustration style?
To find your style, try different techniques and materials. Look at various cake designs and themes. Let your creativity shine and be open to new ways to draw cakes.
