Introduction
Think of baking as a fun experiment, not a chore. After all, if a 6-inch cake can bring smiles and make celebrations special, imagine what yours could do!In this blog post, we’ll explore delightful small birthday cake ideas that are easy to make and stunning to serve. Whether you’re prepping for a child’s party or a cozy gathering with friends, I’ll guide you through every step of the baking process—without any of the confusing jargon! From gathering basic ingredients to creative decorating tips, let’s embark on this delicious journey together. Ready to impress everyone with your cake-making magic? Let’s dive in!
Understanding Small Birthday Cakes
When it comes to celebrating birthdays, sometimes less really is more. Picture this: a charming little cake sitting in the center of the table, inviting smiles and sweet memories. Yes, I’m talking about small birthday cakes ! They’re perfect for those intimate gatherings where you want a special treat without a ton of leftovers. Let’s dig into the delightful world of small birthday cakes and see what makes them so fantastic!
What Are Small Birthday Cakes?
Small birthday cakes are, simply put, cakes that are crafted for smaller celebrations. They typically range from 4 to 6 inches in diameter, making them ideal for a small gathering or to satisfy a craving for something sweet without going overboard. Think of them as personal-sized pieces of joy!Imagine a moist mini birthday cake , perhaps layered with your favorite frosting, just waiting to be devoured. Isn’t that a lovely image? Whether it’s a simple gluten-free small cake or a decadent chocolate delight, these cakes pack a whole lot of flavor in a compact size.
Benefits of Baking a Small Cake
Baking a small cake comes with a heap of advantages, and here are my top three that I think you’ll love:
- Less Waste: We’ve all been there—leftovers that linger in the fridge for days, staring at you every time you open the door. With a small cake, you can say goodbye to cake regret!
- Perfect for Small Gatherings: Whether it’s a birthday celebration for your child’s closest friends or an anniversary with just your partner, small cakes fit right in. They’re great for those cozy evenings where you want to make sweet memories without the fuss.
- Quick and Easy to Make: Honestly, who doesn’t love easy? You can whip up a small cake recipe in no time, leaving you more moments to enjoy your celebration instead of sweating over the oven.
Ideal Occasions for Small Cakes
You might be asking yourself, “When is the perfect time to bake a small birthday cake?”” Here’s a little inspiration for you:
- Children’s Birthdays: Kids love mini cakes! Imagine a colorful birthday cake for kids decorated with vibrant sprinkles and their favorite cartoon characters.
- Anniversary Celebrations: Celebrating a relationship milestone? A small, elegant cake can symbolize your journey together—just the two of you!
- Casual Get-Togethers: Whether it’s tea with friends or a family dinner, a small cake fits beautifully into any casual setting.
Types of Small Birthday Cakes
The beauty of small birthday cakes is their variety. Here are a few delightful types to consider:
- Mini Cakes: These little wonders can be stacked or simply served on their own. They’re often decorated beautifully, making them perfect for any occasion.
- Cupcake-Style Cakes: Why not take the classic cupcake and make it a mini cake? Think of individual cupcakes layered and frosted like a cake—super cute and easy to serve!
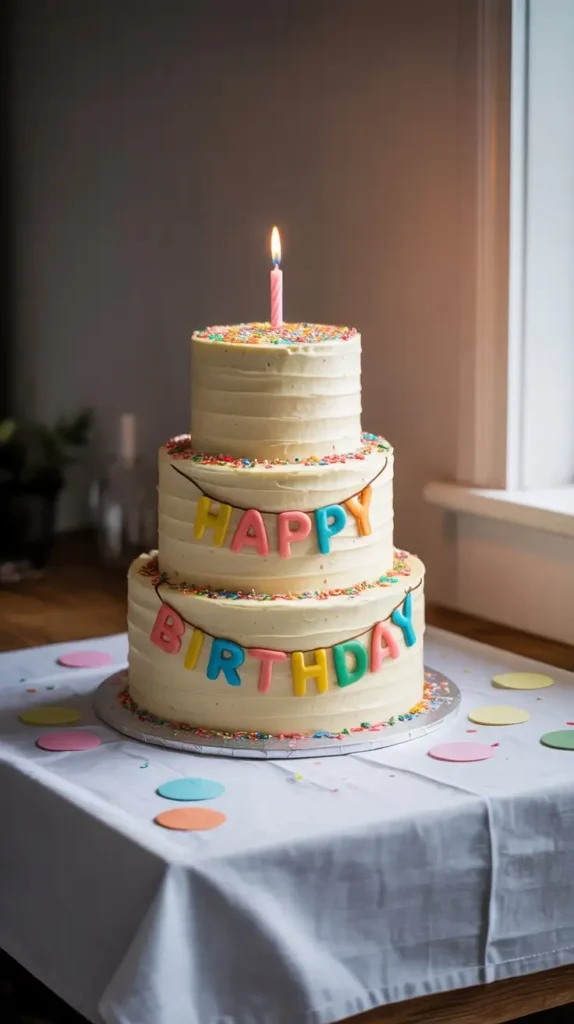
- Tiered Small Cakes: Yes, you can create a tiered effect with smaller cakes! It’s a fun way to bring a bit of elegance to a small gathering.
Trends in Small Birthday Cakes
Keeping up with trends can be quite the treat! Here are a couple of stylish ideas currently making the rounds:
- Personalized Cakes: Adding a personal touch with names, ages, or photos is all the rage. It’s a fantastic way to make the cake feel special and tailored just for the birthday person.
- Themed Cakes: From mermaids to dinosaurs, themed cakes are always a hit. Whatever the interest, a small cake can be adapted to fit the personality of the birthday celebration.
Essential Ingredients and Equipment
Baking a delicious small birthday cake might sound like a daunting task, but with the right ingredients and equipment, you’ll be on your way to creating a delightful masterpiece in no time. Let’s break it down together and make sure you’re fully equipped for your baking adventure!
Basic Ingredients for Small Cakes
First things first—let’s talk about what you’ll need to make those adorable small birthday cakes Here’s your shopping list of basics:
- Flour: All-purpose flour works well, but you can also use cake flour for a fluffier texture.
- Sugar: Granulated sugar is your go-to, but brown sugar adds a nice touch of moisture and flavor.
- Butter: Unsalted butter is best—remember to let it come to room temperature for easy mixing.
- Eggs: The magic ingredient! They help bind everything together, so don’t skip them.
- Baking Powder: This is your cake’s best friend, making sure it rises perfectly.
- Milk: Any kind will do; it adds moisture to your cake.
- Vanilla Extract: A splash of this will elevate your cake’s flavor, trust me on this one!
Optional Ingredients for Customization
Want to jazz things up a bit? Here are a few optional ingredients that can elevate your recipe: small cake recipes
to the next level:
- Unique Flavors: Fancy a lemon cake? Add some lemon zest or juice! Feeling adventurous? Toss in almond extract for a delightful twist.
- Mix-ins: Chocolate chips, nuts, or dried fruits can add texture and flavor. Imagine biting into a warm slice of cake and finding gooey chocolate—heavenly!
- Frosting and Toppings: Cream cheese frosting, whipped cream, or a simple glaze can really make a small birthday cake pop.
Equipment You’ll Need
Now that you have your ingredients sorted, let’s gather the necessary equipment. Don’t worry; you don’t need a fancy professional setup. Here’s what’s essential:
- Cake Pans: For a small birthday cake, a 6-inch round pan is perfect. You might want to invest in a set to bake multiple layers!
- Mixing Bowls: Having a couple of bowls in various sizes is handy—one for dry ingredients and another for wet.
- Electric Mixer or Whisk: A mixer saves time and energy, but a whisk works just fine if you want a workout while baking!
- Measuring Cups and Spoons: Accurate measurements are key to the perfect cake, so make sure you have these on hand.
- Cooling Rack: After baking, your cake needs to cool down properly. A rack allows air to circulate, preventing sogginess.
Baking Essentials and Tips
Before you dive into baking, keep these small cake baking tips in mind:
- Know Your Oven: Every oven is a bit different. It’s wise to invest in an oven thermometer to ensure accuracy in temperature. No one wants a burnt cake!
- Preheat the Oven: Always preheat your oven before popping that cake in. It helps your cake rise evenly—no one likes a flat cake!
- Greasing Pans: To prevent sticking, grease your pans well with butter or non-stick spray, and line them with parchment paper. This is a game-changer, so don’t skip it!
Ingredient Substitutions
Life happens, and sometimes you don’t have everything on hand. Here are a few simple substitutions you can use without sacrificing flavor:
- Egg Alternatives: If you’re vegan or allergic, try using applesauce (1/4 cup per egg) or a flax egg (1 tablespoon ground flaxseed mixed with 2.5 tablespoons water).
- Dairy-Free Options: Substitute milk with almond milk or coconut milk, and use dairy-free butter.
- Sugar Alternatives: If you’re watching your sugar intake, consider using honey or agave syrup, but remember to adjust your liquid ratios accordingly.
Step-by-Step Guide to Baking a Small Birthday Cake
Alright, my fellow bakers, let’s roll up those sleeves and dive into the fun part—baking your small birthday cake
! Whether you’re a pro or a newbie in the kitchen, I promise this step-by-step guide will make it a breeze. So, grab your apron, and let’s get started!
Preparing the Batter
The first step in your small cake recipes journey is mixing the batter. Here’s how:
- Gather Your Ingredients: Make sure you have all your ingredients handy—flour, sugar, butter, eggs, and the rest we talked about in the previous section. It makes the process so much smoother!
- Cream the Butter and Sugar: In a mixing bowl, beat the butter until it’s soft and fluffy. Then, add the sugar and mix until light and airy. It’s like giving your cake a comfy little cushion to rise on!
- Add Eggs One at a Time: Crack in your eggs, mixing well after each addition. This helps create a lovely, smooth batter without any lumps.
- Mix Dry Ingredients Separately: In another bowl, whisk together your flour, baking powder, and a pinch of salt. Adding dry ingredients separately helps them blend better without clumping.
- Mix It All Together: Slowly incorporate the dry ingredients into the wet mixture, alternating with the milk. Start and end with the flour mixture. Mix until just combined—no need to overdo it, or you’ll end up with a dense cake. We want fluffy, not heavy!
Baking the Cake
Now that your batter is ready, it’s time to bring it to life in the oven:
- Preheat Your Oven: Set it to 350°F (175°C). Preheating is crucial—it’s like warming up before a workout. Your cake will thank you!
- Prepare Your Cake Pans: Grease your 6-inch round pans with butter or cooking spray and line the bottoms with parchment paper. This will ensure your cake pops out easily without leaving any delicious bits behind.
- Pour the Batter: Divide the batter evenly between the prepared pans. Give them a little shake to settle the mixture, making sure it’s even.
- Bake: Place the pans in the oven and bake for about 25-30 minutes. To check if your cake is done, stick a toothpick in the center—if it comes out clean, you’re good to go!
- Cooling Time: Once baked, remove the cakes from the oven and let them cool in the pans for about 10 minutes. Then, transfer them to a cooling rack. Cooling is important; it helps maintain moisture and prevents sogginess.
Trimming and Leveling the Cake
Once your cakes are completely cool, we’re on to the leveling:
- Trim the Tops: If your cakes have domed on top, take a serrated knife and gently cut off the dome. This ensures even layers for decorating.
- Level the Cake: Place one layer onto your serving plate. If you’re layering, spread a bit of frosting on top before adding the next layer. This creates a secure base for your cake.
Storing Leftovers
Let’s be real—sometimes you end up with extra cake. Here’s how to keep it fresh:
- Wrap It Up: Cover any leftover cake tightly with plastic wrap or store it in an airtight container.
- Refrigerate or Freeze: Small cakes can be stored in the fridge for 3-4 days. If you want to freeze it, wrap it well in plastic wrap and foil; it can last for up to three months. Just remember to let it thaw in the fridge overnight before serving.
Decorating Your Small Birthday Cake
Now the fun part begins: decorating your small birthday cake! This is where you can let your creativity shine and make your cake truly personal. Whether you want it to look elegant, whimsical, or themed, there are countless small birthday cake ideas to choose from. Let’s explore some simple yet effective decorating techniques that will have everyone drooling before they even take a bite!
Simple Decorating Techniques
Sometimes, less is more. Here are a few straightforward yet stunning techniques to consider:
- Frosting Finish: Use a simple buttercream or cream cheese frosting to cover your cake. Spread it on with a spatula for a rustic look, or use a piping bag for more intricate designs. Remember, practice makes perfect! If you mess up, it’s just cake—delicious cake!
- Sprinkles Galore: Who doesn’t love sprinkles? A sprinkle-covered cake instantly lifts the mood. Just dump those colorful gems on the top and sides, and watch as your little creation transforms into a party-ready delight.
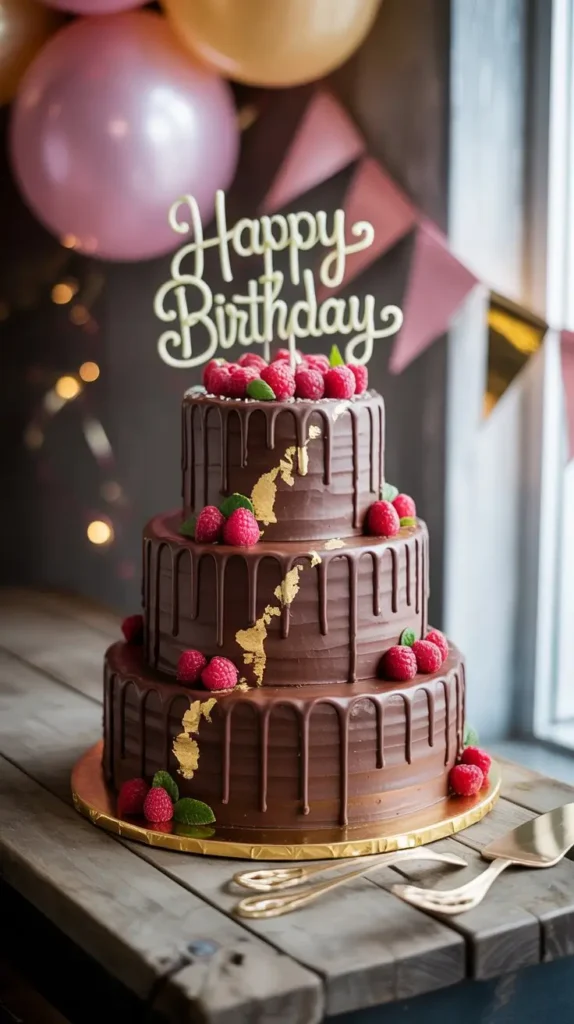
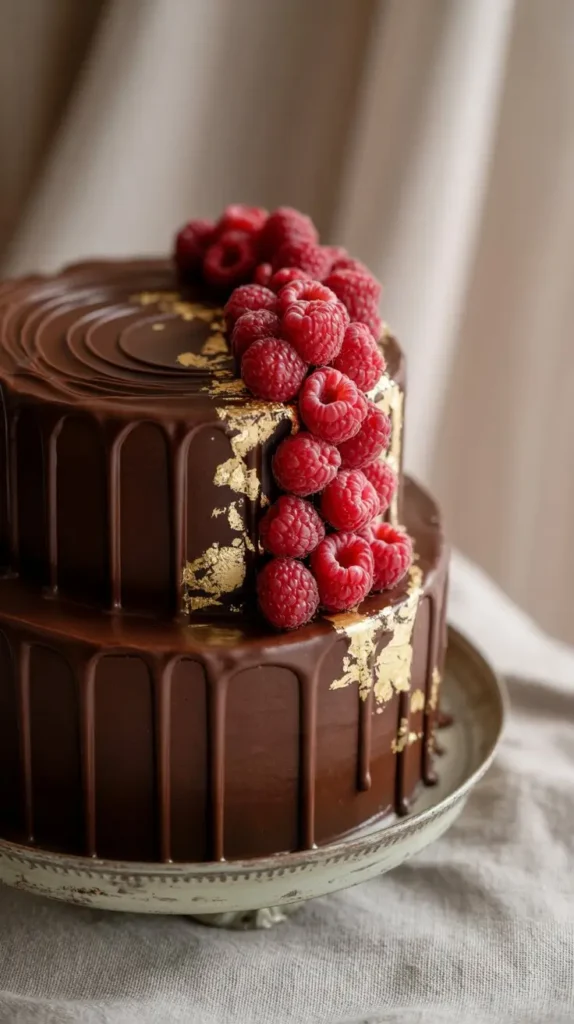
- Fresh Fruit: Top your cake with fresh berries, slices of kiwi, or even citrus fruits for a refreshing touch. Not only do they look great, but they also add a zing of flavor. Your taste buds will thank you!
Themed Decorations
Adding a personal touch can take your small birthday cake from good to unforgettable. Here are some fun theme ideas to consider:
- Rainbow Cake: Layer your cake with different colored frostings or fillings. Each slice reveals a cheerful surprise inside—perfect for kids (or the young at heart)!
- Floral Decor: Use edible flowers or crafted fondant flowers for a fresh, garden-like vibe. It’s a lovely way to celebrate a spring or summer birthday.
- Character Cakes: If you’re baking for kids, consider decorating the cake like their favorite character. Whether it’s a cartoon hero or a beloved animal, this will wow them and make their special day even more memorable.
Creative Toppings and Fillings
Want to take your decorating game to the next level? Here are some ideas for toppings and fillings that can really enhance the flavor:
- Chocolate Drizzle: Melt chocolate and lightly drizzle it over the top for a decorative touch. It adds a rich flavor and a fancy touch that looks like you bought it from a bakery.
- Whipped Cream: Add a dollop of fresh whipped cream for a fluffy, indulgent texture. It pairs perfectly with fruit toppings.
- Unique Fillings: Consider adding a layer of jam, ganache, or flavored whipped cream between the layers of your cake. It’s a delightful surprise that adds depth to every slice.
Personalizing the Cake
One of the best parts about baking at home is the chance to make it personal. Here’s how to do it:
- Add a Message: Use frosting to write a birthday message on top. It could be as simple as “Happy Birthday!” or more personal, like a sweet note for the birthday person.
- Name and Age: Celebrate their special age by adding a number candle or crafting it in frosting. It’s a charming and memorable touch.
- Photographs: For a truly unique idea, place a printed edible image of the birthday person on the cake. It’s sure to be a conversation starter!
Utilizing Cake Topper Ideas
Cake toppers are a fantastic way to add flair without too much effort. After all, who doesn’t love a good cake topper? Here are some ideas:
- Seasonal Toppers: Use festive toppers that reflect the season—autumn leaves for fall birthdays or snowflakes for winter fun.
- Toy Figurines: For kids’ cakes, stick adorable toy figurines or characters on top. It’s like turning your cake into a mini diorama!
- DIY Toppers: Get creative and make your own! Try crafting a simple banner with cardstock or using cookie sticks to create custom messages.
Serving Suggestions and Presentation
You’ve baked and decorated the perfect small birthday cake, and now it’s time to serve it up! But wait—how you present it can make all the difference. After all, who doesn’t enjoy a slice of cake that looks as good as it tastes? Let’s explore some small birthday cake ideas for serving that will leave your guests impressed and eager for a taste.
Ideal Serving Sizes for Small Cakes
First things first—let’s talk about serving sizes. A small birthday cake doesn’t need to be overwhelming. Here’s how to portion it out:
- Cutting the Cake: For a 6-inch cake, you can typically get about 6 to 8 slices. If you’re serving just a few people, you might even get away with cutting slightly larger pieces.
- Presentation Before Cutting: Consider placing additional decorations or toppings around the base of the cake to create an eye-catching display. Think fresh berries, mint leaves, or even a sprinkle of edible glitter.
Creative Ways to Present the Cake
The way you present your small birthday cake can elevate the entire experience. Here are some stylish ideas that will wow your guests:
- Cake Stands: Invest in a lovely cake stand that fits the aesthetic of your occasion. Whether it’s vintage, modern, or rustic, a beautiful cake stand can really make your cake pop.
- Themed Displays: If your cake has a specific theme (like a favorite movie or season), try to incorporate those elements into your presentation. For example, if it’s a summer cake, surround it with seasonal fruits and flowers.
- Plating with Style: When serving, place a slice on a decorative plate and drizzle a sauce or sprinkle powdered sugar on the side. It adds an artistic flair and shows you really care about the details.
Party Planning Considerations
Now, let’s think about how to weave your cake into the broader celebration:
- Positioning on the Table: Place your cake in a prominent spot where it can steal the show. This makes it the centerpiece of your gathering, sparking conversations and excitement.
- Pairing with Beverages: Consider what drinks complement your cake. A rich chocolate cake pairs beautifully with a bold coffee, while a light lemon cake might be best with chilled tea or sparkling water
Conclusion
And there you have it—your complete guide to baking a small birthday cake that’s sure to wow friends and family! Who knew that something so simple could pack such a punch of joy? Whether you’ve opted for a classic vanilla frosting, a fruity topping, or even a themed design, each cake is a canvas for your creativity and personal touch.As you take your first slice of that beautiful cake, I hope you feel a sense of pride in your accomplishment. Remember, baking is all about joy, experimentation, and sharing sweet treats with the people you love. So, what’s your next cake adventure going to be?If you’ve got questions or want to share your cake triumphs, drop a comment below! I’d love to hear about your experiences and any small cake recipes that stole the show at your celebrations. Here’s to many more happy baking moments and delicious slices ahead!
FAQ
1. What size cake pan should I use for a small birthday cake?
A 6-inch round cake pan is ideal for small birthday cakes. It provides the perfect size for a cozy celebration.
2. How long does it take to bake a small birthday cake?
Typically, a small cake takes about 25 to 30 minutes to bake. Always check for doneness with a toothpick!
3. Can I freeze a small birthday cake?
Yes! Your cake can be frozen and stored for up to three months. Just wrap it tightly in plastic wrap and foil to keep it fresh.
4. What are some easy decorating ideas for small cakes?
Consider using sprinkles, fresh fruit, or simple frosting techniques. Adding a personal message or themed topper can also enhance the presentation.
5. How do I store leftover cake?
Store leftovers by wrapping them in plastic wrap or placing them in an airtight container. They can be kept in the fridge for 3-4 days or frozen for later enjoyment. Feel free to adjust any specific details, but this structure should provide a strong introduction and conclusion for your blog post!