Use this simple method to start your trip in cake illustration. It’s ideal for anyone that adore culinary art or love baking. The fundamentals will help you to realize your cake ideas. From simple forms to color and detail adding, it’s all here.
Table of Contents
Creating beautiful cake illustrations is now within reach for anyone. With some practice, you can turn your cakes into amazing art. This article will show you a simple 3-step process to make impressive cake drawings quickly.
Understanding the Basics of Cake Illustration
Cake drawing is a fun way to make your ideas come to life. It’s great for both new and experienced artists. We’ll cover the basic tools, materials, and how to set up your workspace for cake drawing.
Essential Tools and Materials
To start making beautiful cake illustrations, you need the right tools and materials. Here’s what you’ll need:
- High-quality drawing paper or sketchbook
- Assortment of pencils (HB, 2B, 4B) for sketching and shading
- Erasers, both kneaded and standard, for refining your designs
- Ruler and protractor for precise measurements and proportions
- Colored pencils or markers for adding vibrant hues
- Fine-tip pens or micron pens for outlining and adding details
Setting Up Your Workspace
Having a dedicated, organized workspace is key for great cake drawing. Here are some tips to set up your ideal space:
- Choose a well-lit area, either natural or artificial, to ensure you can clearly see your work.
- Invest in a comfortable and adjustable drawing table or desk to support your posture and hands.
- Keep your tools and materials well-organized, with frequently used items within easy reach.
- Eliminate distractions by minimizing clutter and selecting a quiet, focused environment.
- Incorporate storage solutions, such as drawers or trays, to keep your workspace tidy and efficient.
By learning the basics of cake illustration and setting up a great workspace, you’ll be ready to create amazing cake drawings. These will surely impress and delight your audience.
Why Learn Simple Cake Illustration
Learning food art and cake drawing skills opens up a world of creativity. It’s not just a fun hobby but also useful in many areas.
For those who love baking, knowing how to draw cakes is super helpful. It lets you try out new flavors and designs. This skill is also great for careers in design, marketing, or social media. It makes your work stand out.
“Cake illustration is a versatile art form that turns your creative vision into a stunning, tangible masterpiece.”
Learning cake drawing skills is also very personal. It lets you express yourself in a unique way. Drawing cakes can be calming and rewarding, making you feel proud of your work.
Whether you want to make amazing cakes for yourself or show off your talent, learning cake illustration is worth it. It’s a skill that can make your personal and professional life better.
So, why not explore the world of cake illustration? With practice and the right guidance, you can turn your love for food art into a fulfilling journey.
Getting Started with Basic Shapes for Cake Drawing
If you’re new to drawing cakes, learning the basic shapes is crucial. These shapes help you create realistic and well-proportioned cakes. Let’s explore the basics of drawing circles and cylinders, the starting point for amazing cake shapes.
Mastering Circles and Cylinders
Circles and cylinders are the base of cake designs. Begin by practicing drawing perfect circles, adjusting their size and proportions as needed. Once you’re good at circles, move to drawing cylinders, which are key to your cake illustrations.
- Sketch circles of varying diameters to capture different cake tiers
- Practice drawing cylinders with precise height-to-width proportional drawing
- Experiment with overlapping circles to create multi-layered cakes
Creating Perfect Proportions
Getting the proportions right is key for realistic cake drawings. Focus on the relationships between different parts of the cake. Make sure the tiers, fillings, and decorations are in perfect harmony.
- Observe the typical height-to-width ratio of real-life cakes
- Adjust the size of each tier to create a visually balanced composition
- Incorporate appropriate spacing between cake layers for a polished look
By mastering the basics of cake shapes and proportional drawing, you’ll create stunning cake illustrations. These will surely impress your audience.
Simple Cake Illustration Techniques for Beginners
Starting with cake sketching can seem daunting. But, with the right beginner illustration methods, you can quickly get the hang of it. This will let you show off your creativity.
Learning to draw lines is key. Begin with basic shapes like circles and rectangles. This helps you get used to your drawing tool. Then, play with different line weights and textures to add depth to your drawings.
Shading is also crucial. Try out hatching, cross-hatching, or stippling to add shadows. Think about the light source and how it affects your cake’s look. This makes your drawings look real and appealing.
Don’t forget about textures. Use techniques like stippling or scribbling to mimic fondant or buttercream. These methods can make your cake sketching look three-dimensional.
“The joy of cake illustration comes from its simple yet captivating techniques that anyone can learn to master..”
Improving takes practice and trying new things. Enjoy the learning journey. With effort, your cake drawings will get better, and you’ll create amazing art.
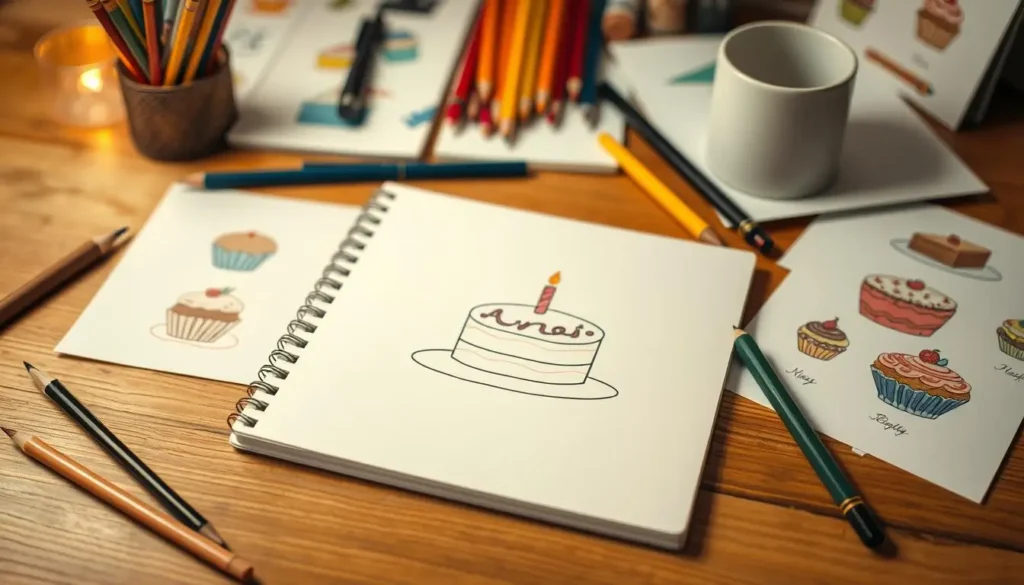
Sketching Your First Birthday Cake Drawing
Ready to improve your cake sketching skills? We’ll show you how to make a simple yet eye-catching birthday cake illustration. You’ll learn the basics of line work and add initial details. This will help you create amazing birthday cake illustrations that show off your talent.
Basic Line Work
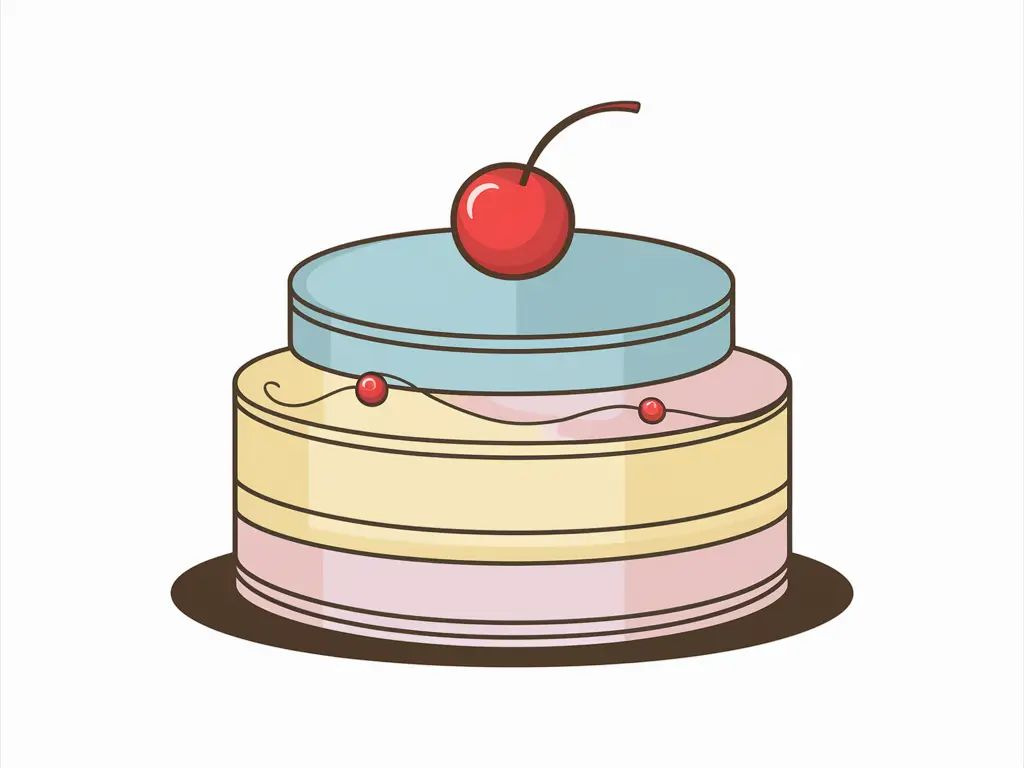
Begin by lightly drawing the base of your birthday cake. Use basic shapes like circles and cylinders to create a clean, symmetrical shape. Make sure the cake’s tiers are balanced and look good.
- Start with a central circular base for the bottom tier.
- Add more circular tiers, getting smaller each time to show the cake’s layers.
- Use curved lines to make the sides of each tier smooth and rounded.
Adding Initial Details
After setting the basic structure, it’s time to add some details. This is where you can think about the final design and add special touches that fit the occasion.
- Think about adding simple decorations like swirls or dots to make the tiers interesting.
- Sketch a topper, like a candle or decoration, to top your cake.
- Try different textures and patterns to show the cake’s surface, like smooth fondant or textured buttercream.
The secret to great birthday cake illustrations is a solid base and building from there. By learning these basics, you’ll make stunning, realistic birthday cakes that will wow your loved ones.
Adding Texture and Dimension to Your Cake
Creating stunning cake illustrations means adding realistic texture and dimension. This makes your drawings truly stand out. By mastering these techniques, you can improve your cake texture illustration skills. You’ll make visually captivating dimensional drawing masterpieces.
To add texture, use intricate details and patterns. You can do this with bold brushstrokes, subtle shading, and highlights. Try different techniques like cross-hatching or stippling. This will create various textural effects that look like real cake surfaces.
To make your cake drawings look three-dimensional, focus on depth and perspective. Use shading, shadows, and highlights to add volume. Pay attention to where and how intense these elements are. They greatly affect the depth of your drawing.
Remember, practice and experimentation are key to mastering cake texture illustration and dimensional drawing. Try different materials, techniques, and styles. Discover what techniques work best for you and align with the effect you want to create.
Mastering Decorative Elements
To take your cake illustrations to the next level, you need to master decorative elements. This includes the fine details of frosting and piping, as well as creating realistic toppings. This section will show you how to add visual interest and sophistication to your cake decoration illustration.
Drawing Frosting and Piping
Getting the textures and patterns of frosting and piping right is key in realistic food art. Start by practicing basic shapes and techniques like swirls and zigzags. Focus on the flow and consistency of the frosting to make your illustrations look smooth and creamy.
- Try out different piping tips for various effects
- Watch how frosting behaves on the cake surface
- Notice the sheen and highlights that make frosting look alive
Creating Realistic Toppings
The toppings you choose can really make your cake decoration illustration pop. Try to capture the unique textures, shapes, and colors of each topping. This will make your drawings look just like the real thing.
- Sketch individual toppings, focusing on their details
- Play with layering and arranging toppings for interesting looks
- Add shadows and highlights to give your toppings depth
By mastering decorative elements, you can make cake decoration illustrations that are stunning and lifelike. Keep practicing and refining your skills to take your cake illustrations to new heights.
Color Theory for Cake Illustrations
Mastering cake illustration is more than just drawing the shape. It’s about understanding color theory. This includes vibrant food coloring techniques and cake art colors that make your designs pop.
Start by learning the color wheel. Know the primary, secondary, and tertiary colors. Learn how to mix them for stunning results. Choose colors that match your theme, making your illustrations both accurate and beautiful.
Color theory also includes contrast, saturation, and value. Use these to add depth and texture to your work. Light and shadow can make your cakes look real and inviting.
Practice and experiment with different colors and techniques. Try food coloring techniques and watercolor washes to find what works for you. With time, you’ll get better at using color to make your cakes look amazing.
| Color Combination | Mood | Suggested Cake Illustration |
| Analogous (e.g., blue, green, and turquoise) | Calming, peaceful | Zen-inspired minimalist cake |
| Complementary (e.g., red and green, blue and orange) | Vibrant, energetic | Whimsical, carnival-themed cake |
| Monochromatic (various shades of the same color) | Elegant, refined | Classic white wedding cake with subtle texture variations |
“Color is to the eye what music is to the ear.”
As you improve your cake illustration skills, remember color is key. Use food coloring techniques and cake art colors to show off your creativity in every design.
Common Mistakes to Avoid in Cake Drawing
Cake illustrations are an art form, but even experts can make mistakes. As you start drawing cakes, watch out for these cake drawing errors. This will help your work shine.
Troubleshooting Your Illustration
One big mistake is ignoring proportions. Your cake’s parts must match perfectly for a realistic look. Pay close attention to how layers, frosting, and toppings fit together.
Another mistake is not focusing on illustration improvement. Missing details like texture, shading, and highlights can make your cake look flat. Try different techniques to add depth and make your cake come alive.
- Failing to establish proper proportions between cake layers and toppings
- Neglecting to add depth and dimension through effective shading and texturing
- Struggling to achieve a cohesive and visually appealing color palette
- Difficulty in accurately rendering realistic decorative elements like frosting and fondant
By spotting and fixing these cake drawing errors, you can improve your skills. With practice and attention to detail, your cake drawings will impress everyone.
“The devil is in the details when it comes to crafting realistic and visually stunning cake illustrations.”
Improving your illustration improvement means being open to trying new things and learning. By avoiding these common mistakes, you’ll create amazing cake drawings that grab attention.
Digital vs Traditional Cake Illustration Methods
The debate between digital food art and traditional illustration techniques for cake illustration is growing. Both methods have their own benefits. The choice depends on the artist’s style, skills, and the project’s needs.
Digital Cake Illustration
Digital cake illustration is becoming more popular. It offers many tools and capabilities. Artists can control color, texture, and composition precisely. This results in detailed and stunning cake designs.
Digital art is also easy to modify, duplicate, and share. This makes it versatile for cake designers and illustrators.
Traditional Cake Illustration
Traditional illustration techniques still have a place in cake design. Artists enjoy the tactile experience of using pencils, paints, and other materials. This approach allows for a personal touch in their work.
Traditional methods also offer a unique look. Some clients prefer this, especially for rustic or vintage-inspired designs.
| Digital Cake Illustration | Traditional Cake Illustration |
| Precise control over color, texture, and composition | Tactile experience and personal touch |
| Easily modifiable and shareable | Unique aesthetic for rustic or vintage-inspired designs |
| Wide range of digital tools and capabilities | Potential for more organic and handcrafted look |
The choice between digital and traditional cake illustration depends on personal preference and project needs. Understanding each method’s strengths and limitations helps artists make the best choice for their vision and the client’s requirements.
Taking Your Cake Illustrations to the Next Level
Improving your cake illustration skills is an exciting journey. By learning advanced decoration techniques and perfecting your finishing touches, you can make stunning advanced cake art. This art will amaze and inspire others. Let’s uncover the secrets to elevate your professional food illustration to new levels.
Advanced Decoration Techniques
Explore the world of detailed cake decoration, where creativity knows no bounds. Try out intricate piping, delicate hand-painted details, and 3D elements for depth and drama. Techniques like fondant sculpting, gum paste flowers, and precise stenciling can take your designs to the next level.
- Mastering the art of piping for realistic frosting and icing textures
- Incorporating 3D elements, such as fondant ribbons and bows
- Utilizing stencils and airbrushing for precise, geometric patterns
Professional Finishing Touches
The final touches can transform a good cake illustration into a masterpiece. Focus on the finer details, like clean lines, seamless blending, and a polished look. Develop an eye for subtle details that make your professional food illustration stand out.
- Refining your brushwork for smooth, uniform color application
- Mastering the art of blending and shading for depth and realism
- Ensuring a cohesive and visually striking final composition
The path to becoming a master of advanced cake art is a journey of learning and improvement. Embrace the process, be bold in your experimentation, and let your love for cake illustration show in every stroke.
Applying Your Skills to Different Cake Styles
As a budding cake illustrator, you’ve mastered basic cake designs. Now, it’s time to explore more cake styles. From delicate wedding cakes to whimsical cupcakes, there’s a lot to discover.
Wedding cakes are a popular choice. They need careful detail and a good sense of proportion. Start with the basic tiered shape. Then, add intricate piping, elegant fondant, and delicate flowers to make your diverse cake illustrations stand out.
Cupcakes are another exciting canvas for your specialty cake drawing skills. Try new shapes, textures, and toppers to make each cupcake unique. Aim to capture the essence of a theme or season in your designs.
Whether it’s a classic tiered cake or a fancy dessert, focus on detail and experimentation. Embrace the variety of cake styles. Let your creativity show in your illustrations.
Showcasing Your Cake Illustrations
As a food artist, it’s key to show off your cake illustrations in a way that grabs attention. A detailed food art portfolio and smart use of social media are great ways to do this. They help you share your cake drawing talents and find new clients or jobs.
Crafting a Compelling Portfolio
A top-notch cake illustration display portfolio is crucial. Pick your best cake drawings, showing off different styles and designs. Make sure your work looks good together, focusing on layout and image quality.
- Include a mix of detailed cake illustrations, quick sketches, and final rendered pieces.
- Organize your portfolio into clear sections, such as birthday cakes, wedding cakes, or specialty creations.
- Consider presenting your portfolio in both digital and physical formats to cater to various preferences.
Leveraging Social Media
Social media is a big help in showing off your cake illustration display and growing your online presence. Sites like Instagram, Pinterest, and Behance are great for sharing your work. They enable you to connect with more people and attract new clients.
- Curate a cohesive and visually appealing feed that showcases your food art portfolio.
- Engage with your followers by sharing behind-the-scenes insights, process videos, and inspirational quotes.
- Leverage relevant hashtags and geotags to increase the visibility of your cake illustrations.
- Collaborate with other food artists or influencers to cross-promote your work and reach new audiences.
Success in cake illustration display comes from showing your work in a way that’s both eye-catching and true to your style. With a well-thought-out portfolio and smart social media use, you can show off your skills. This opens doors to exciting opportunities in the food art world.
Conclusion
Congratulations on your journey through cake illustration! You’ve learned the basics and advanced techniques. Now, you’re on your way to becoming a food art expert.
You’ve discovered how to make cakes look amazing. By learning about shape, texture, and color, you can create stunning cakes. Whether it’s for a birthday or a wedding, your designs will impress.
Keep exploring and having fun as you continue your food art journey. The more you practice, the better your illustrations will get. Show off your unique style and keep pushing the limits. Your cake illustration skills are just starting to grow.
FAQ
What are the essential tools and materials for cake illustration?
You’ll need drawing pencils, erasers, and sketchpads for cake illustration. Markers or colored pencils are also key. Make sure you have a clean, well-lit workspace. Depending on your style, you might use watercolors, gouache, or digital tools.
How do I set up an optimal workspace for cake illustration?
Choose a clean, well-lit area with enough desk space. Keep your tools and materials within reach. A drawing board or easel can help keep your work stable. Try different lighting setups to find what works best for you.
What are the benefits of learning simple cake illustration?
Learning simple cake illustration is rewarding. It lets you personalize baked goods and can lead to new career paths. It also boosts your drawing skills.
How do I master the basic shapes for cake drawing?
Start by practicing circles and cylinders. Focus on getting the proportions right. Use guidelines or reference images to improve your skills.
What are some simple techniques for beginners to try in cake illustration?
Beginners can try clean lines, basic shading, and simple patterns. Begin with simple designs and slowly incorporate more complexity as you progress.
How do I create a basic birthday cake drawing?
Start with a simple line sketch of the cake’s shape. Add basic details like tiers and frosting texture. Then, add candles, frosting piping, and toppings.
What are some techniques for adding texture and dimension to cake illustrations?
Use shading techniques like hatching and stippling to add texture. Highlights and shadows can also create depth. Focus on the textures of cake components for realism.
How can I improve my use of color in cake illustrations?
Learn about color theory and experiment with palettes. Observe how colors affect your artwork. Use natural cake colors for realism.
What are some common mistakes to avoid in cake drawing?
Avoid wrong proportions, lack of detail, and inconsistent lines. Pay attention to the textures of different cake parts. Regularly check your work and seek feedback.
What are the pros and cons of digital versus traditional cake illustration methods?
Digital methods offer easy edits and a wide range of tools. But, they can feel less authentic. Traditional methods are more personal but may be slower. Choose based on your preference and project needs.
How can I take my cake illustrations to the next level?
Try advanced decoration techniques and color blending. Focus on finishing touches like highlights and shadows. This will make your work look more polished.
How can I showcase my cake illustration skills?
Create a portfolio with your best work. Use online platforms to share and connect. Enter art contests or exhibitions to get noticed.
